

Hello crafty friends. It’s day 5 of my 12 Dies of Clarity challenge so today I have the ‘patterned circles’ die from May’s Clarity Craft Club. I really liked this when it arrived, but have to confess I hadn’t used it so far (how many crafters say that…?!). I was only going to make one card today, but decided that the topper and the background were a bit too busy when I put them together so reverted to two.

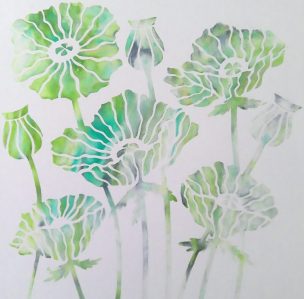
For the first one, I cut the die in white cardstock and attached it to a piece of Clarity’s ‘Antarctica’ designer paper (for once I had an offcut in my folder that was just about the right size – happy days!). I then fussy cut it around the edge of the die cut.

I mounted it onto a piece of white card, layered some teal card behind it and attached the whole piece to a 5×7 card blank. I finished by stamping the sentiment in ‘tenacious teal’ Artistry ink and added a few Glossies.

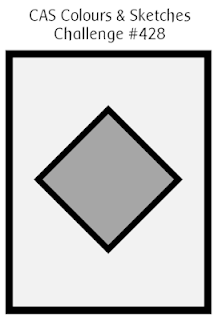
I’m going to share this card with CAS Colours and Sketches – their final challenge of 2021 asks us to choose one of their sketches or colour palettes from any of this year’s. I’ve gone with the sketch from challenge 428 back in July.
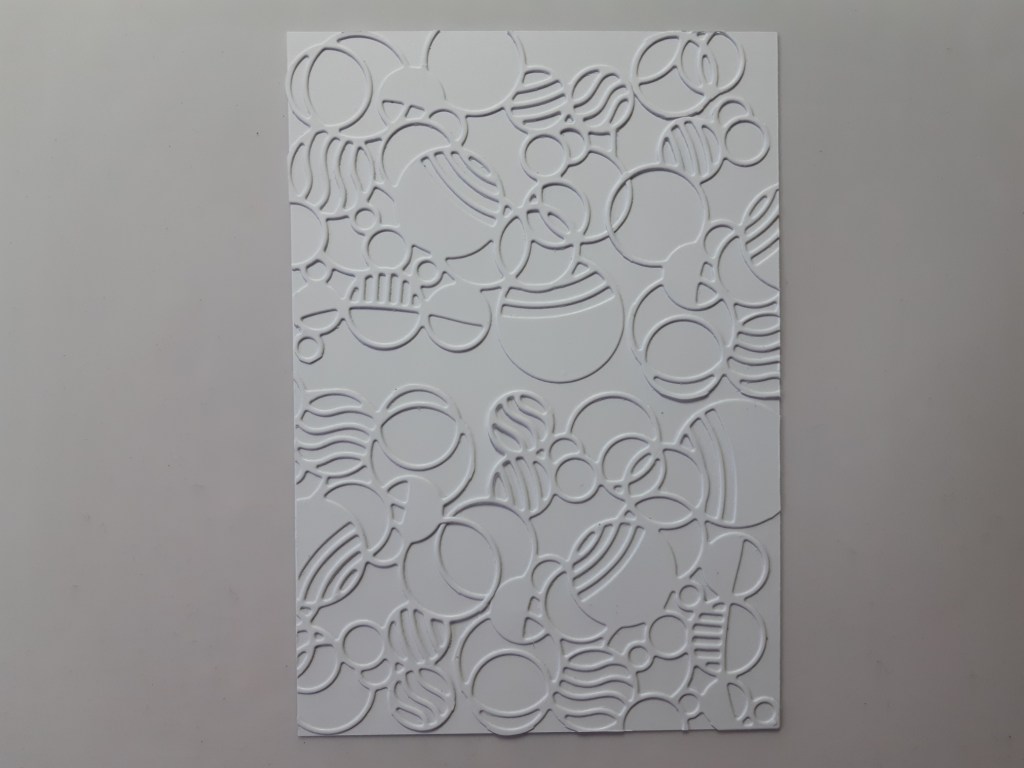
The second card uses the background that I’d planned for the first one. I die cut the circles several times in white card, trimmed the borders off and attached them to cover a piece of white card (huge thanks to Dee this tip on the club project sheet). I’d put ‘Stick It’ adhesive sheet on the back of the card before die cutting it, so it was relatively easy to stick the pieces down. I trimmed the die cuts along the edge of the card using scissors.
I decided to make this into a new year card – I need to deliver some to my neighbours as they didn’t get Christmas ones this year thanks to my son’s positive test meaning we had to self-isolate from Christmas Eve! I used a piece of Clarity’s ‘Amazonia’ designer card and cut out the letters with Julie Hickey’s ‘sweet pea alphabet’ dies. I attached the background to a 5×7 card blank and then glued the letters onto the front. I got a good tip from Julie Hickey which makes this much easier – line up the letters for each word using the squares on your craft mat and then pop a piece of low tack tape to hold them along the top. Turn the word over and add the glue to the back, then place it onto the card front. Press the letters down and then carefully peel the tape off. I always struggle to get die cut letters sitting straight and this really helped.
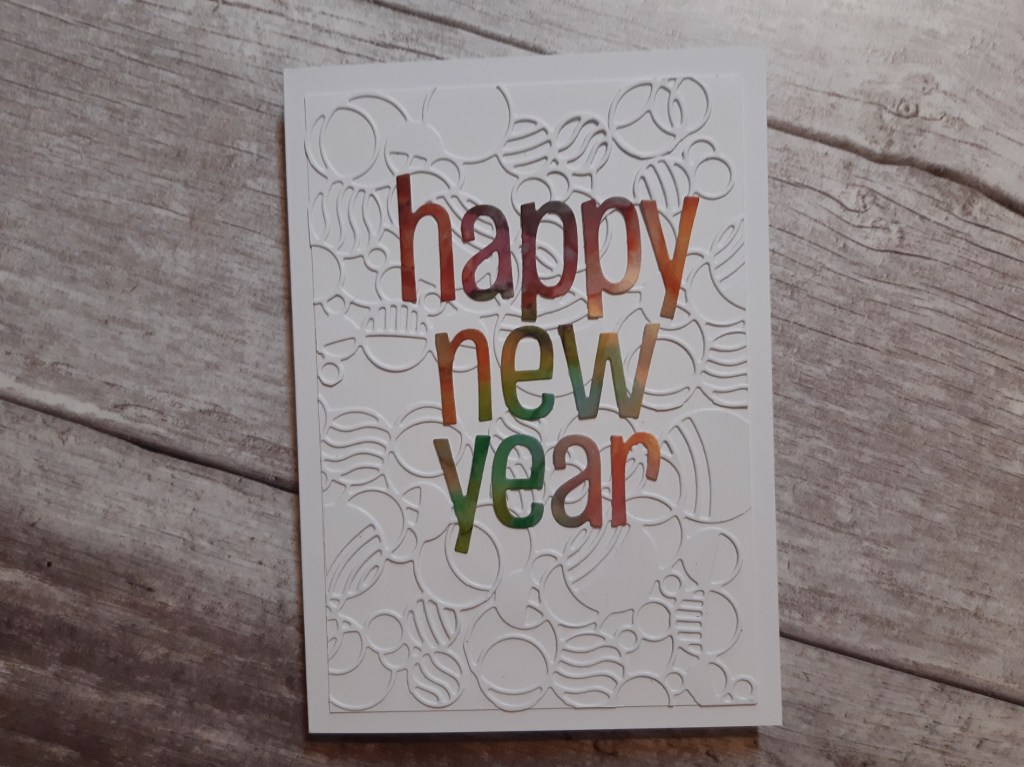
I’m going to share this card with Global Design Project – their theme is ‘celebration’ and I think this fits the bill!
Discover more from Deborah's Crafty Blog
Subscribe to get the latest posts sent to your email.

Pretty!
LikeLiked by 1 person
The die you used works perfectly with the sketch you chose! Thanks for sharing your card at CC&S.
LikeLiked by 1 person
Wow. This graphical die is so awesome! And I love the background you layered behind the die cut. Thank you for sharing this wonderful card at CC&S challenge.
LikeLiked by 1 person
What a wonderful die! I love your cards! Thanks for playing along with us at CC&S!
LikeLiked by 1 person