

Welcome to my crafty blog. It’s been a bit of a busy day today, so I’ve just got a quick card to share with you. I was inspired by the fab Julie Hickey – I joined her Facebook live class last week, which was about making your own stencils using dies. I didn’t have any stencil plastic, so used Claritystamp’s reusable mask material instead which worked well.
I started by cutting the two smallest stars from a nested set of dies into the mask material. The easiest way to do this is to put a piece of the mask onto some scrap paper and then run it through your die cutting machine. That way the mask’s backing paper remains intact for storing it on.
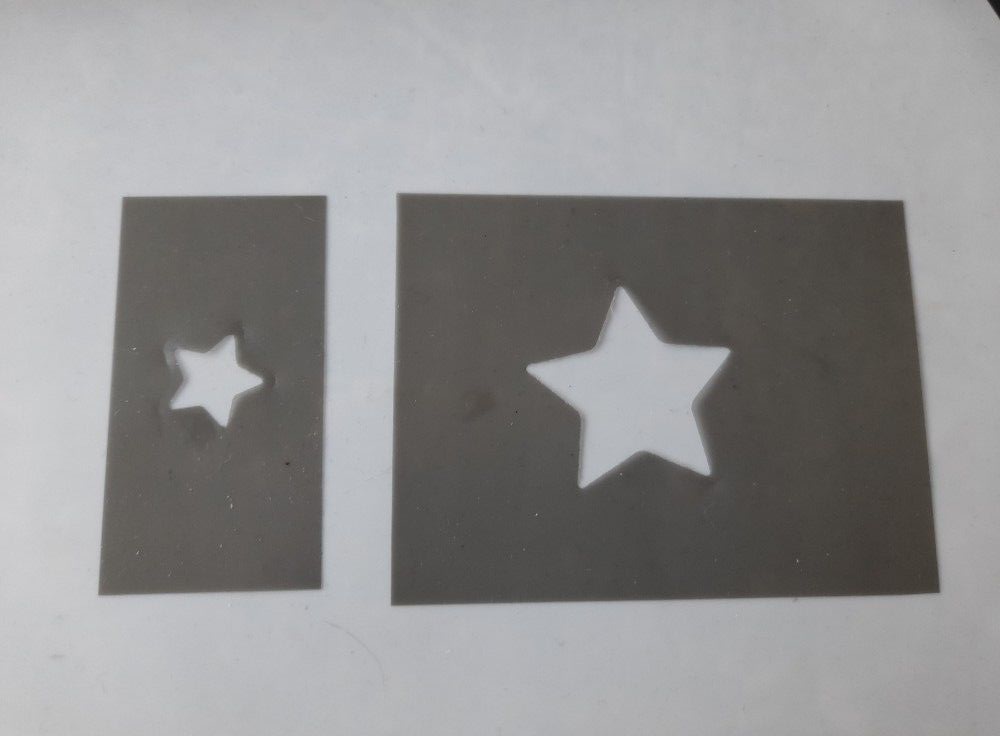
I then positioned the star mask onto a slimline card blank, and used a blending brush to add Distress Oxide ink. I did the three larger stars first, in ‘mermaid lagoon’, ‘speckled egg’ and ‘evergreen bough’, then added the little stars inbetween.

I finished the card by adding some little Glossies around the stars in co-ordinating colours, and stamped the sentiment in Archival ‘watering can’ (from Julie Hickey’s ‘positive wishes’ stamp set).

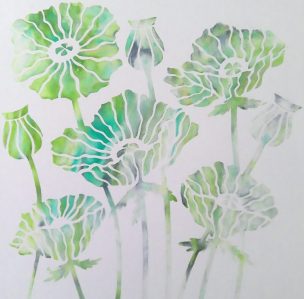
This would make a great card for a little boy (or anyone who likes blue tones – not wanting to stereotype!) You may have noticed there are 7 stars on the card – that’s because I’m going to share it over at this week’s Time Out Challenge, where they’re celebrating their 7th birthday.

Discover more from Deborah's Crafty Blog
Subscribe to get the latest posts sent to your email.

Love the colors and the simplicity of this!
LikeLiked by 1 person
Lovely idea and great tip. I am waiting for mask sheets from the recent members sale so great to try out some die cutting. I suspect I do have stars stencil in my stash though. I love the colours you have used and the drops really set off the piece
LikeLiked by 1 person
Thank you so much Karen. I’m definitely going to use more ideas to cut the masking material
LikeLike
Simple, fun and festive card with a great color scheme. Thanks for joining us in our birthday celebration at Time Out!
LikeLiked by 1 person