

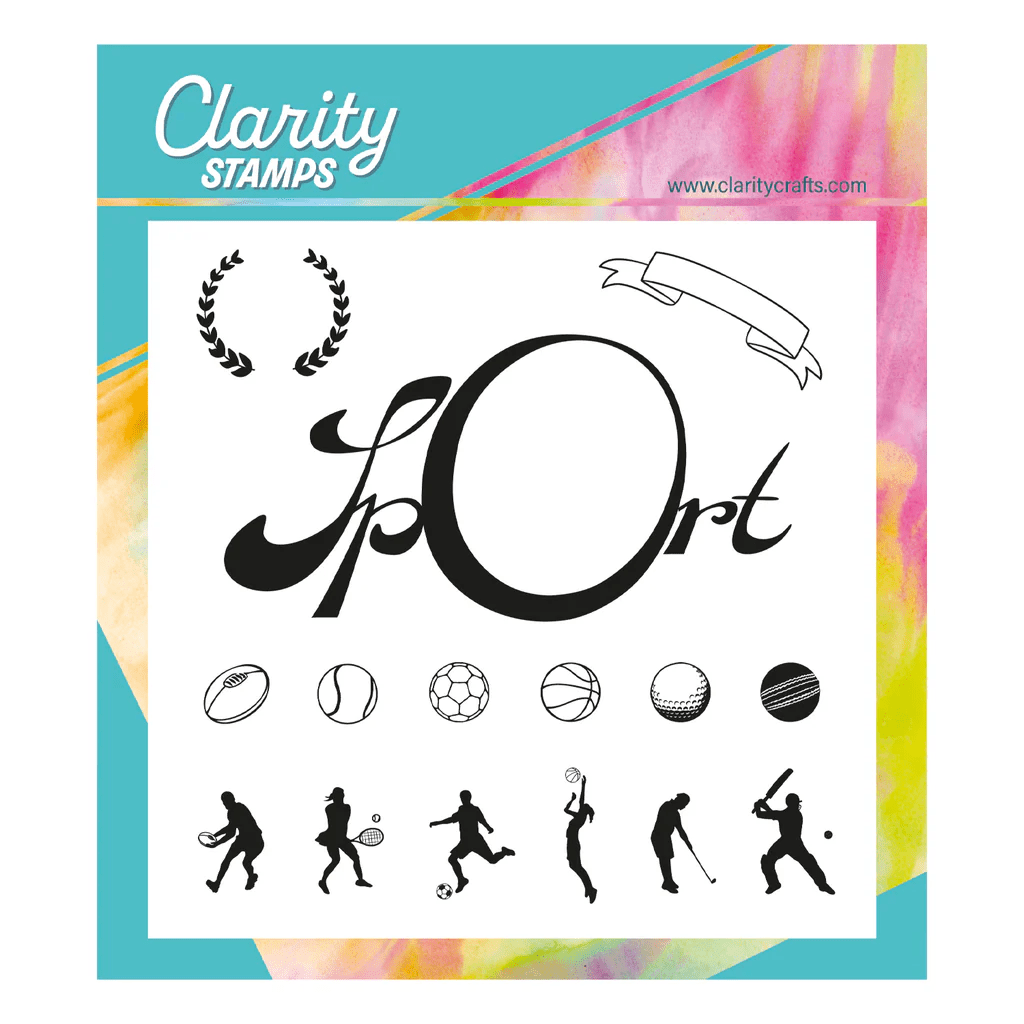
Hello again! I’m back with a second post today, this time with one of my cards from this afternoon’s show which I wound up running through fairly quickly, so thought I would take a closer look at the process. It’s a bit of a departure for me, as I don’t usually make fun or fancy fold cards, but life’s an adventure for living, isn’t it?! Clarity’s sport word framer is great for masculine cards (and Father’s Day is coming up fast in June) – although it has got female images in there too.
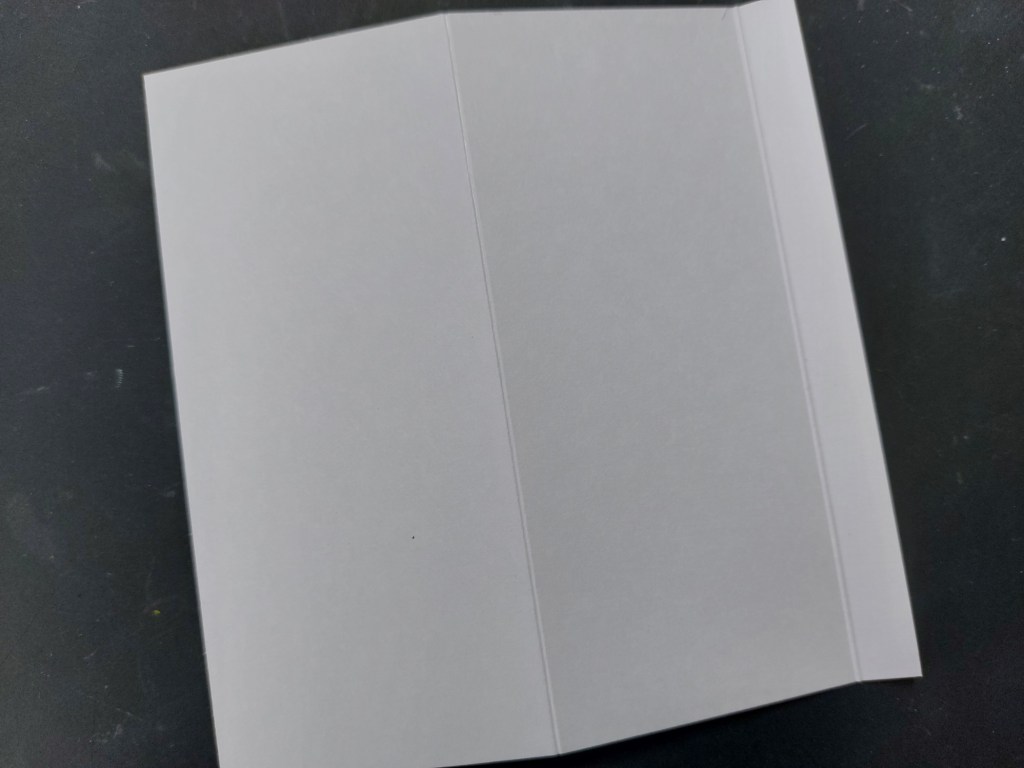
Now, the first step was to make my little easel card by adapting a 5×5 card blank. I cut a second piece of stencil card to 5×5″ and scored a couple of folds into it – one at about 1/4″ as a ‘valley’ and the second ‘mountain’ one in the centre of the remaining unscored card. Basically, this means that you score the card on one side for the first fold and then on the other side for the second one. Having creased both folds with my bone folder, I ran Perga glue along the narrow fold edge and glued it onto the base of my tent fold card blank – the narrow fold will sit along the bottom edge on the inside of the card front.

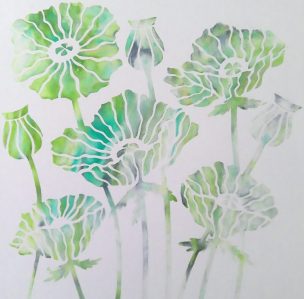
I found a piece of Amazonia designer paper with lovely green tones (it is a sports themed card after all!) so cut a square piece to sit on the front of the 5×5 card blank. I cut another piece deeper than the front fold to stamp my word on. Top tip – in this sample I used the paper for the front fussy cut (Clarity’s designer paper is a good weight), but on the show this afternoon I went with the matching designer card which is that bit more robust. Anyway, I lined up my designer card on the front flap and positioned the word framer so it stood above the fold, picking it up on one of Clarity’s mega mounts. I could then stamp it flat onto the patterned card/paper, using a combination of black Archival and Versafine Clair inks to get a solid black coverage. I needed to fussy cut around the top of the word for it to stand above the fold, but first drew myself a pencil guideline on it level with the top edge of the card so I didn’t cut too deeply into the paper and leave white areas showing behind it. Having trimmed the top, I glued the paper onto the folded card.

And that was my next rookie error – I should have stamped the cricketer from the ‘wee sports people‘ into the O before gluing it into place, so I had a flat surface! Doh! I got round it by opening out the fold, but will remember that for next time… I also added a few of the little sportsmen from the word frame set – helpfully they are not only smaller but are in different playing positions from those in the Wee set, which gives you more possibilities.

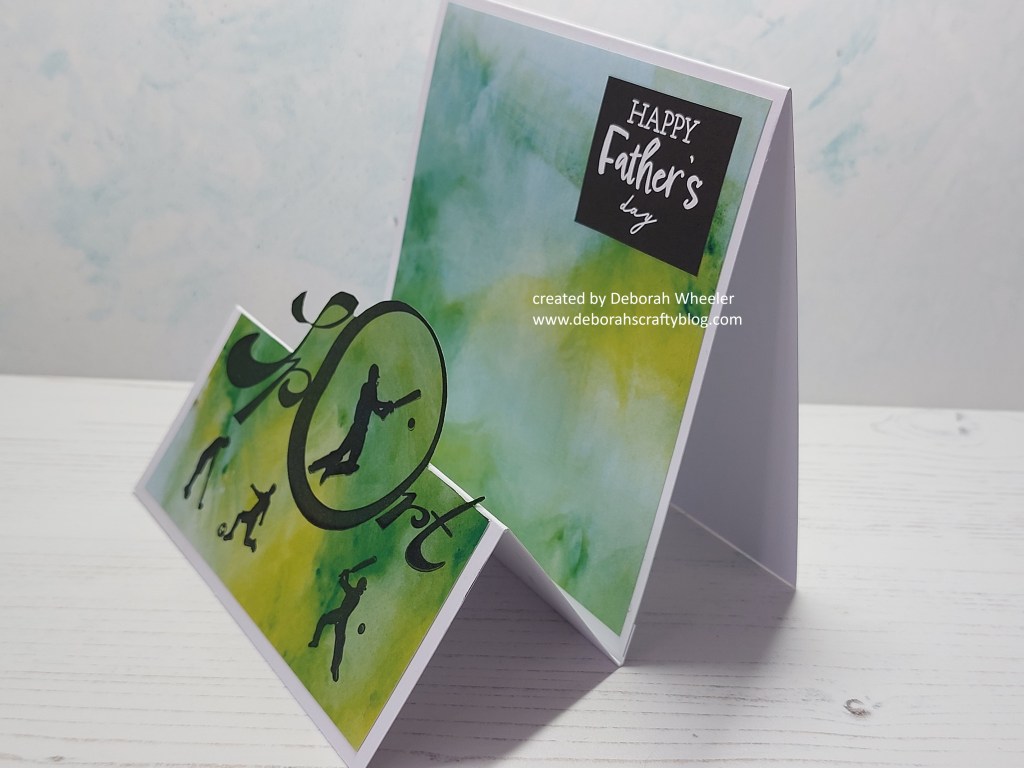
Anyway, having managed to navigate my way through all that, I finished the card with one of the Pinky Gray greetings stickers. I really like the different look this gives with the word framer stamp – and it would work for any of the other sets too. If you’d like to watch this process on video, you can find it towards the end of today’s 2pm Clarity Social TV show. I’m now sitting with my feet up after a busy day, but will grab a couple of minutes to share this in the gallery at Cardz4Guyz who are looking for fancy folds – job done!
Discover more from Deborah's Crafty Blog
Subscribe to get the latest posts sent to your email.

A wonderful guy card and the paper is perfect for those silhouette images.
LikeLiked by 1 person
Thank you x
LikeLiked by 1 person
Awesome masculine card!
LikeLiked by 1 person
Thanks! Not quite in your fun fold league…!
LikeLiked by 1 person
Great masculine card – love the tones and all those sports men xx
LikeLiked by 1 person
Thank you!
LikeLike
What a stunning card design! Fabulous colors too!
LikeLiked by 1 person
Thanks you so much x
LikeLike
Fantastic!! Love the marble background you created!! Thanks for joining the fun and playing along with our “fancy fold” challenge over at Cardz 4 Guyz!! You rocked our masculine theme that is always called for in our challenges and our fancy fold element in this current challenge!! Deb Horst, DT #C4G370
LikeLiked by 1 person
This is just my type of card. It’s one of my favourite folds and I am a cricket fan. It’s fabulous. Thanks for joining us at Cardz4guyz. Love Dawn x
LikeLiked by 1 person
Thanks Dawn!
LikeLike
Your Sport motif and Step card style work really well for a masculine Fancy Fold, Deborah! Love the black on that lush pop of green and yellow. Thanks for joining us at C4G this round. Cheers, Jolanda – DT
LikeLiked by 1 person