

Hello there! I’ve been having a bit of a rest today – it was a bit of a marathon yesterday with a two hour journey home after my shows on Clarity Social TV! Anyway, here I am now with another look at one of my demos from yesterday, and it’s a two-for-one thanks to one of the die cuts from Clarity’s ‘whimsy hares‘ cut card kit!
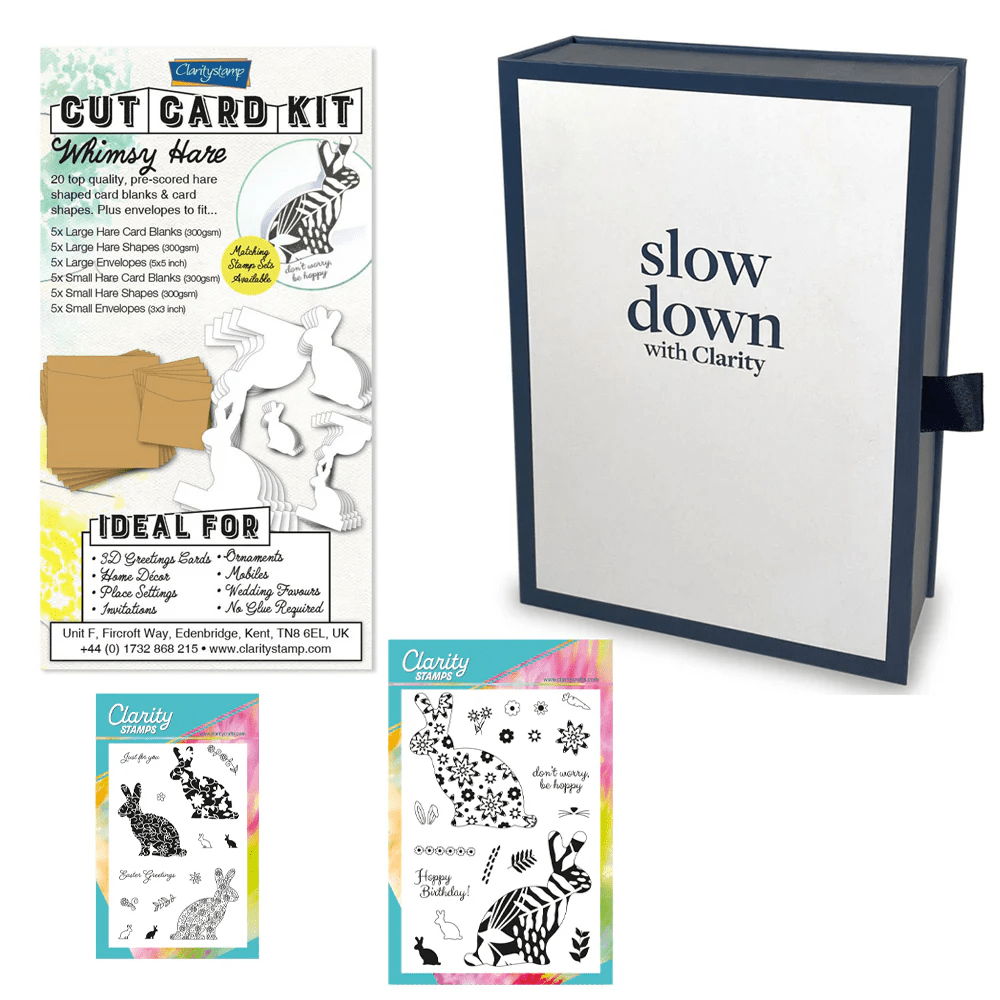
So let’s start with the first card. The small hare die cut comes in a square of carrier card, so I decided to make use of that to be able to line my stamp up accurately – it’s difficult to stamp onto the hare die cut on its own as it’s exactly the same size as the stamp so you can’t see the edges. I popped the die cut out of the centre of the card and nestled the small floral hare (from the A6 stamp set in the kit) into the aperture. I could then pick him up on one of Clarity’s 5×5 mega mounts, using the etched lines on it to sit against the bottom and right hand edges of the card. That meant I could go straight back down with the stamp once I’d inked it with ‘fern green’ Archival ink, aligning the mount back with the card edges, which is exactly what I did after putting the die cut back into the aperture. Phew!

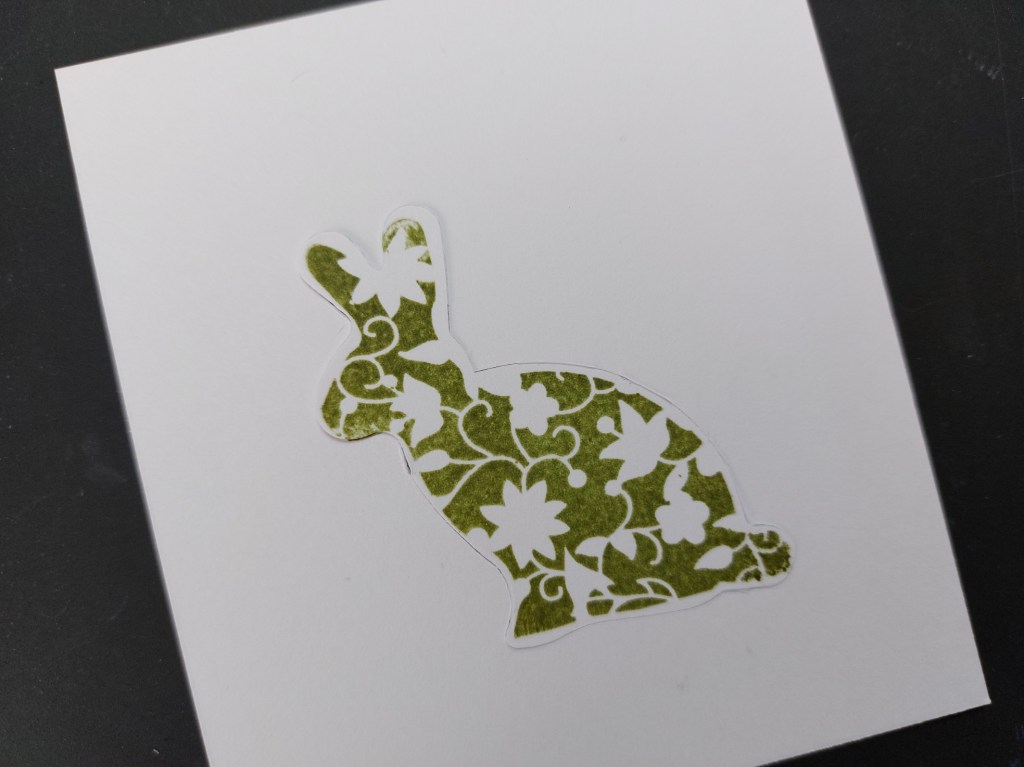
The rest of the card was very simple to assemble! I brushed a little ‘antique linen’ Distress Oxide onto the hare to soften the white card. I then die cut a square from a piece of Toscana designer card to give me the landscape and added a mount of black. I embossed a frame onto the front of a 6×6 card blank with a square embedder and attached the topper into it, finishing with one of the setiments from the kit’s larger stamp set.

So, this little chap’s hopping off to the gallery for Seize the Birthday while we move on to the second card I made…
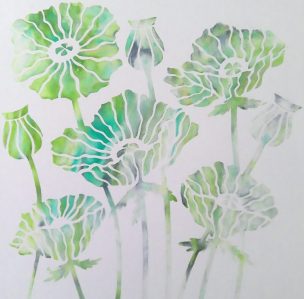
I picked up the remaining piece of the die cut (you’d think it was the ‘waste’) and attached it to a piece of Clarity’s 3.5″ card, so that I could use the aperture as a stencil to brush ‘squeezed lemonade’ Distress Oxide through it. My small floral hare was still on the Clarity mega mount, so I inked it up with ‘watering can’ Archival, lined the mount up with the card edges in the same way as before and stamped the bunny through the aperture.


He looked a little sparse sitting on the blank card (even by my CAS standards!), so I decided to add a bit of masking! The hares come with pre-cut masks to fit the stamps, so I covered himover and then used the fab grassy section from the ‘deerscape‘ mask set, a stencil brush and ‘mowed lawn’ Distress Oxide to sit him on the ground. I switched to the ‘clouds‘ mask and ‘broken china’ Distress Oxide to then create the sky.
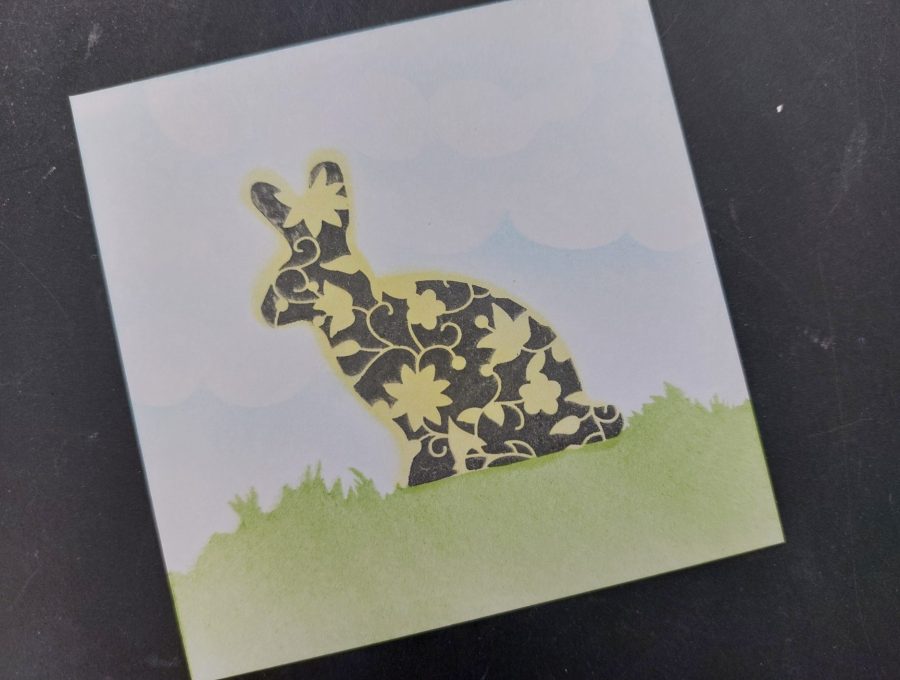
I brushed the two inks onto a slightly larger square of card, ran a black Sprie around the edges of both and attached the smaller piece at an angle. Having again used a square embedder for a frame on a 6×6 card blank, I popped the topper in place and finished with the Easter sentiment from the small hares stamp set.
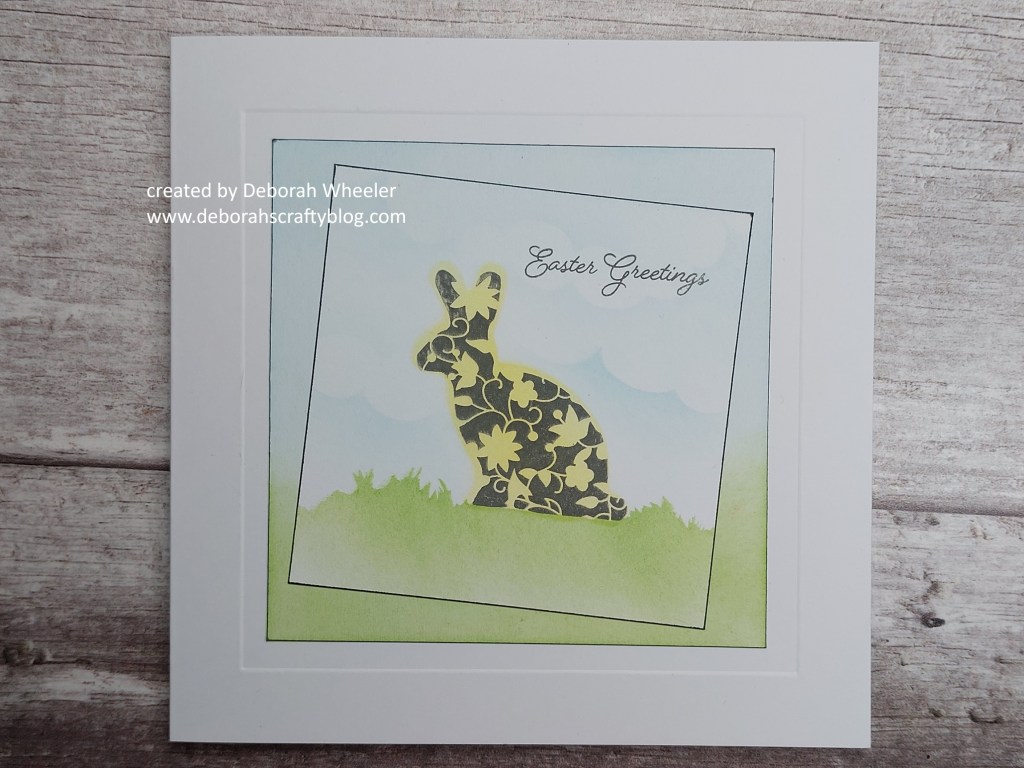
So I’m sharing this one with a couple of challenges – Festive Friday have got an Easter theme, so I’ve picked up yellow, bunny & Easter sentiment from their list, while I hope the team at Just Us Girls will accept my die cut aperture as a stencil!


So that’s two cards from just using one of the die cut pieces in the kit (and there are another 19 pieces to use…!) In fact, I’ve still got the piece with the aperture in it, so you may see that make an appearance on a card as well soon!
Discover more from Deborah's Crafty Blog
Subscribe to get the latest posts sent to your email.

Super cute!
LikeLiked by 1 person
thanks! Love these die cut kits!
LikeLiked by 1 person
These are adorable hares. Great cards and fun patterns.
LikeLiked by 1 person
thank you Johanna x
LikeLiked by 1 person
Deborah… love that bunny! and I love seeing Easter in the gallery! Thanks for sharing with Just Us Girls.
LikeLiked by 1 person
Oh this is so cute – and what a clever idea with those die cut panels x
LikeLiked by 1 person
thanks so much x
LikeLike
So cute – love the colours. My mum was always a fan of hares, and after she died I bought a statuette of a boxing hare in her honour……so hares hold a special place in my heart xx
LikeLiked by 1 person
how lovely xx
LikeLike
Again, I always enjoy your process pics and dialogue. I love the bunny of course and the scene you created for him/her. The pattern really made a huge difference. Thanks for sharing your talents with us at Seize the Birthday. Hugs!
LikeLiked by 1 person
thanks so much Nancy x
LikeLike
Of course we’ll accept your aperture as a stencil – because it certainly is – and a super cute one, to boot! Your bunny cards are delightful! Thank you for joining us at Just Us Girls
~carol
LikeLiked by 1 person
This is so sweet, Deborah! I love the patterned hare, and the background is perfect! Thanks for playing with us at Seize The Birthday 🥳
LikeLiked by 1 person
Such great backgrounds for your rabbits. So cheeful and spring-y! Thanks so much for joining us at Seize the Birthday.
LikeLiked by 1 person
Your background is beautiful! the perfect setting for the hare. Thank you for playing along in the Festive Friday Challenge
LikeLiked by 1 person