
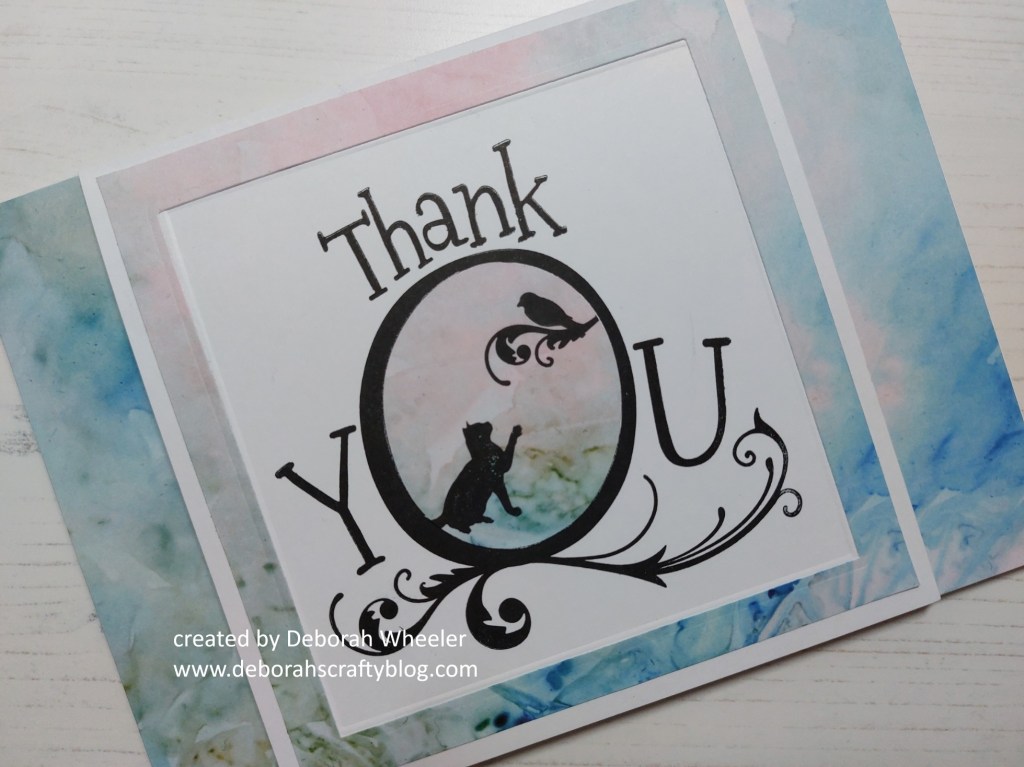
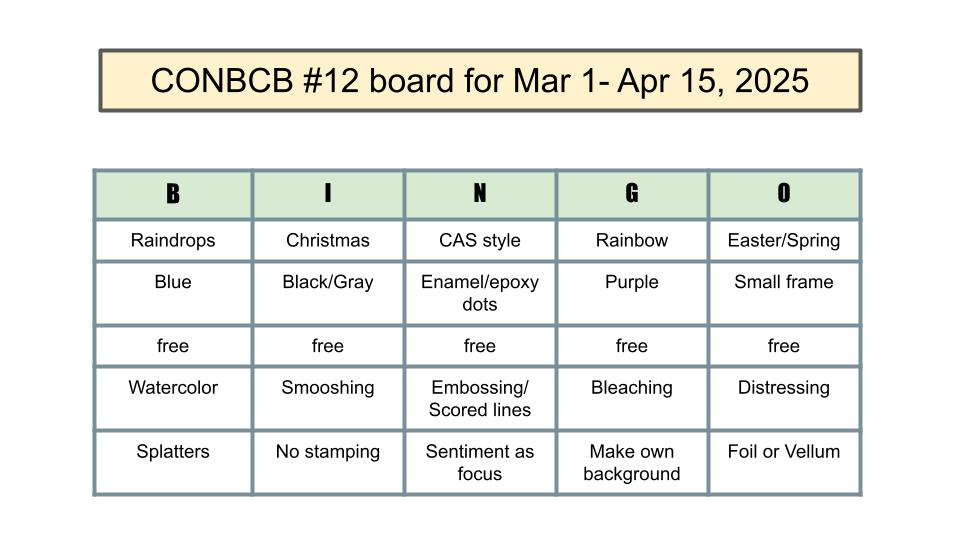
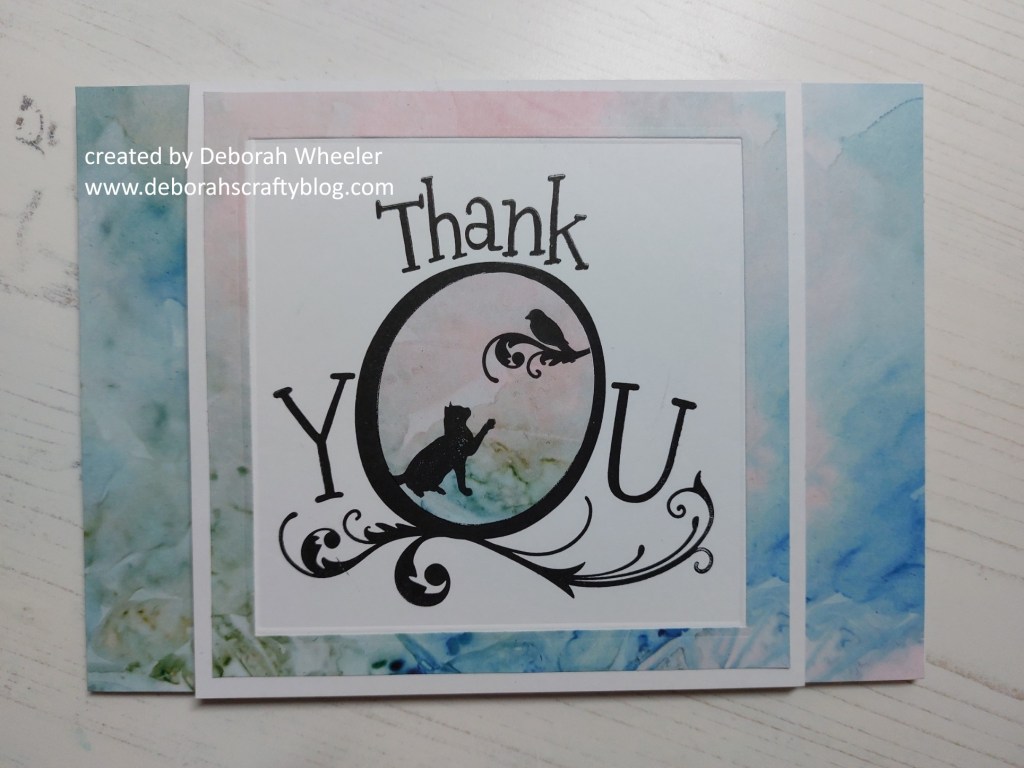
Hello crafty friends – I’m back with a second post today thanks to Christmas (or not) BINGO and our new grid that runs until 15th April. This is another of the demos that I showcased on the 2pm Clarity Social TV show yesterday, with the ‘thank you framer‘ A5 stamp set. My design for this one picks up Column N with CAS style, scored lines & a focal sentiment – I was inspired for the layout by a card I saw Karen Ksenzakovic share on her blog a short while ago and Clarity’s designer paper is perfect for Love Those Pretty Papers challenge.


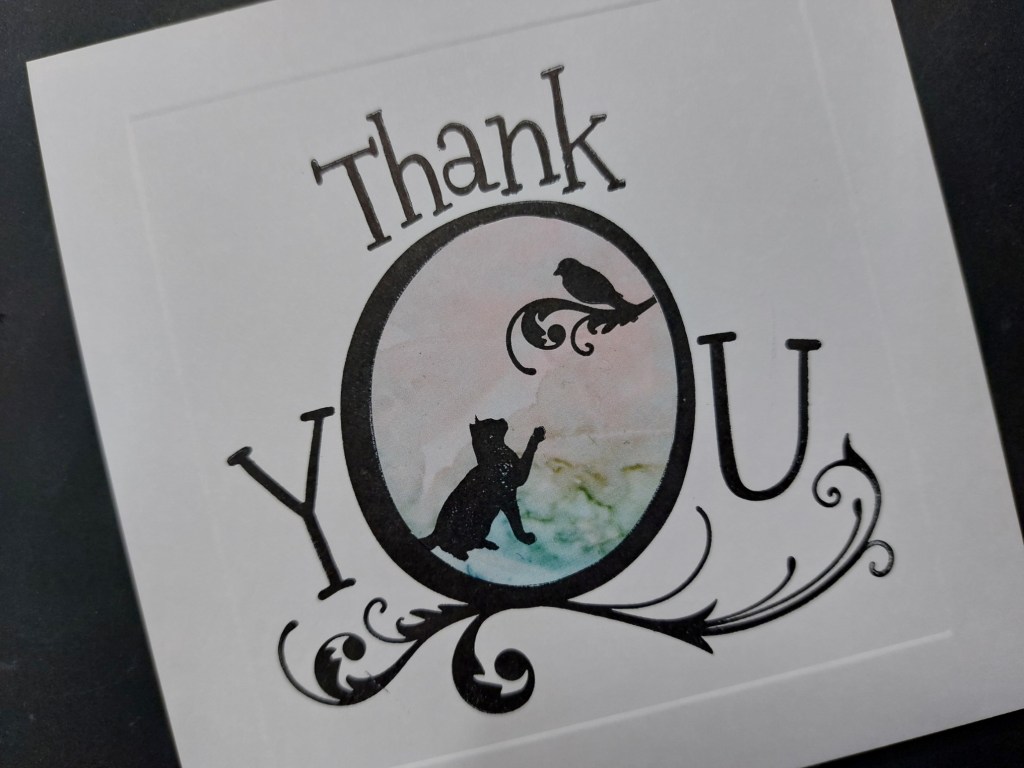
I started with a 5×5 card blank in a tent fold oientation (ie the fold at the top) and embossed a frame onto it with a square embedder before stamping the ‘thank you framer’ image into the centre. I used Versafine Clair ink for this as it’s a bit juicier thank Archival, although you do need to then give it a bit longer to dry thoroughly.

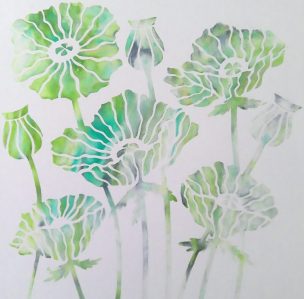
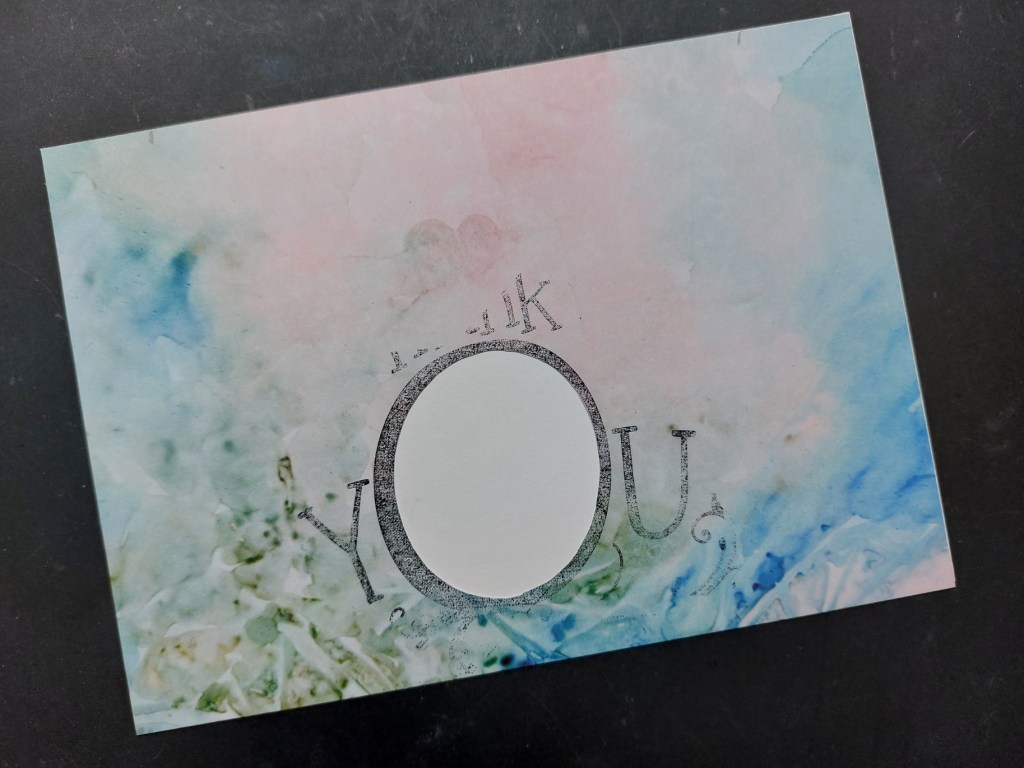
I cut a 5×7 piece of stencil card together with another from the Antarctica designer paper and stamped the word into the centre of the paper, so I could fussy cut the centre of the O for my card front. If you saw the show yesterday, you’ll have seen that I worked out a more efficient proces for this, as I also die cut a frame from the same piece using two square nested dies (on this first run, I cut the frame from a separate piece of the Antarctica paper). I stamped the cat, bird and little flourish from the framer set onto the O of paper and could then glue it into place on the card front – I also glued the reminaing designer paper piece onto the stencil card for the backing plate.
I then simply glued the die cut frame onto the front of the card, surrounding the embedder square then attached the card blank to the backing plate.
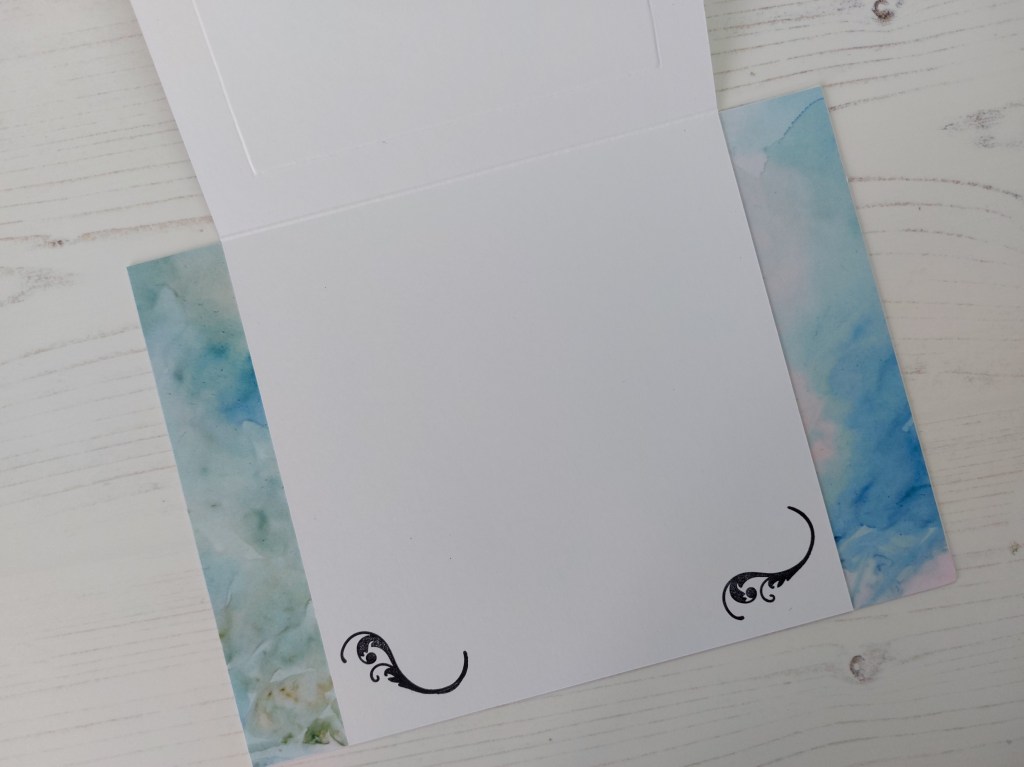
Here’s a quick view at how it look inside – I added a couple of the little flourishes in the corners as a finishing touch
We’ve been talking a lot about ‘mini makes’ in the Clarity community since the new year, but sometimes you want a card that looks a bit more special and this is a great way to turn a small card into a larger one without having to do a big design! So I’m now interested to see what you’ll pick from our Christmas (or not) BINGO card to include on yours – remember to just select one column and add at least 3 of the 5 elements to your card.
Discover more from Deborah's Crafty Blog
Subscribe to get the latest posts sent to your email.

Really love this image and all of the images you can interchange with it! Gorgeous design!
LikeLiked by 1 person
Thank you!
LikeLike
Lovely. Adding the colour into the center of the O is great.
LikeLiked by 1 person
Thanks Johanna x
LikeLiked by 1 person
Love it – of course I would – it has a cat….! Lovely colours too xx
LikeLiked by 1 person
Thanks! This is just about my favourite set of papers
LikeLike
Love this! The kitty is adorable! 😉
LikeLiked by 1 person
Thank you x
LikeLiked by 1 person