

Welcome to part 2 of my gel plate background adventures using the new ‘elegant poinsettia’ stamp set from ClarityCrafts! This time I used it on a Clarity pre-cut cube box, together with one of ‘Linda’s Christmas Treasures Advent’ A4 sampler stamps for a neat little gift box.


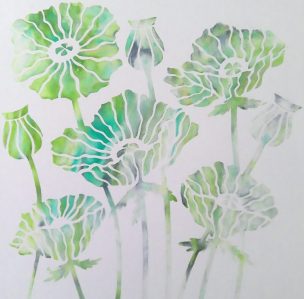
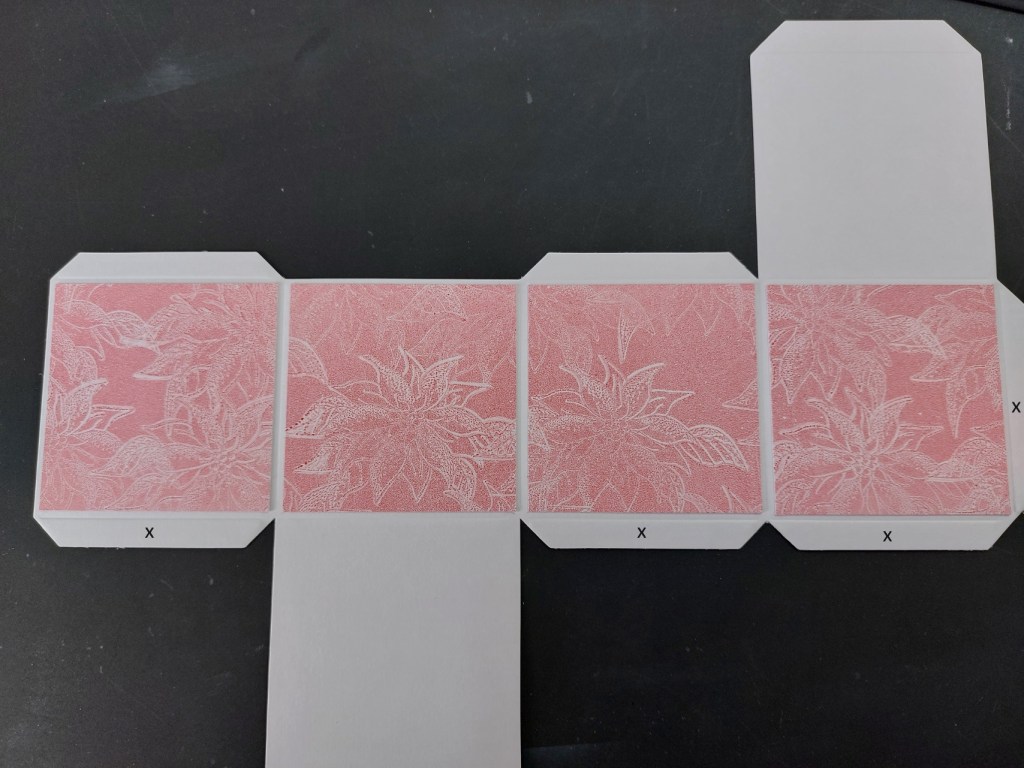
This time, I took the background print that I pulled from the gel plate and cut it into four squares to fit the sides of the box. (if you need a reminder of how I got the print, it’s in yesterday’s post here). This is the point to add any other decoration to the background if you want it, but I forgot to do that! It’s easiest to work with the box flat while decorating it, then stick it together afterwards – I’ve marked the tabs in the photo below that need tape on them (I used red liner tape for mine as it’s super sticky). If you tape any of the other tabs (that form the box lid) you’ll never be able to open it – ask me how I know…!!

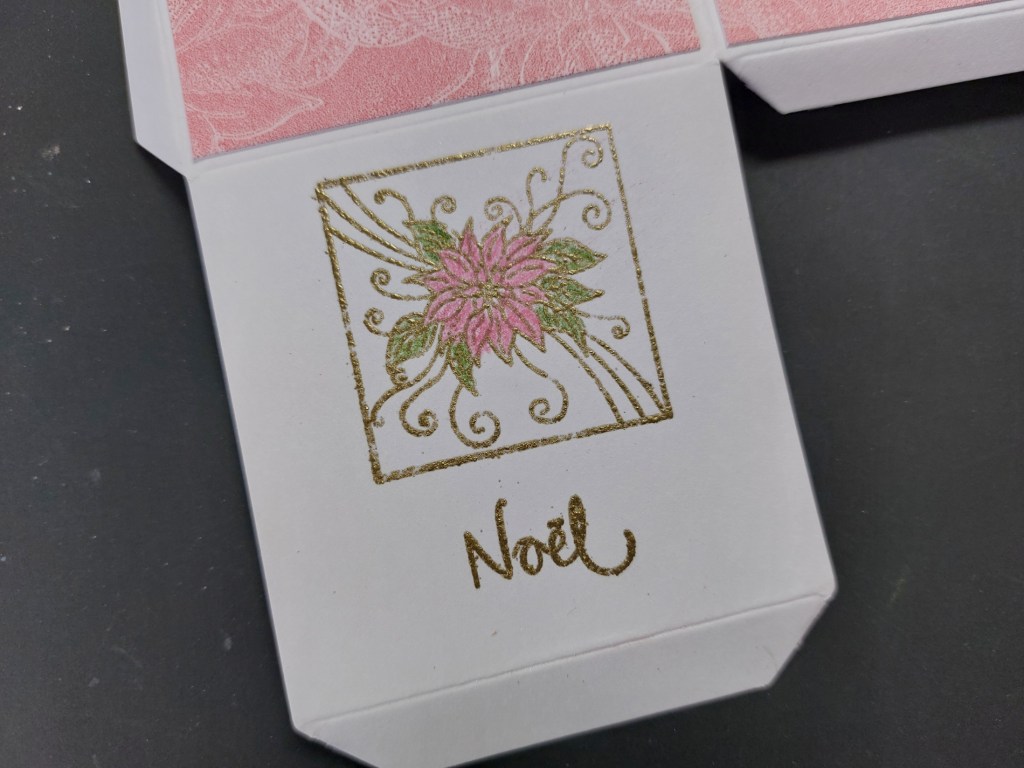
I stamped the little poinsettia square from the ‘Christmas Treasures’ set onto the box lid, together with one of ‘Barbara’s Christmas Sentiments’ and heat embossed them both with gold powder before colouring the image with Pergaliner pencils. Although I’d used ‘festive berries’ (a lovely red) on the gel plate, the print came out as a pink shade, so that’s the colour of the pencil I used (and you can get pink poinsettias!) I also embossed the sentiment onto the sides, which I should have done before attaching the background pieces!
All that remains is to tape the box together and it’s finished.

These little boxes are great for stocking fillers or table treats – they finish just over 3.5 inches square when assembled.
Discover more from Deborah's Crafty Blog
Subscribe to get the latest posts sent to your email.

So pretty!
LikeLiked by 1 person
Thanks – high praise from the queen of gift boxes!!
LikeLiked by 1 person
Ha ha, thank you 🤣❤️
LikeLiked by 1 person
Love this! Boxes are so fun (and easy) to make!
LikeLiked by 1 person
This is a great little gift box and how you used your gelli plate piece makes it special.
LikeLiked by 1 person
Thanks so much x
LikeLiked by 1 person
So sweet, Deborah xoxo
LikeLiked by 1 person
Thank you Em x
LikeLike
What a gorgeous box! Love the touch of gold!
LikeLiked by 1 person
Thanks so much Vicki!
LikeLike