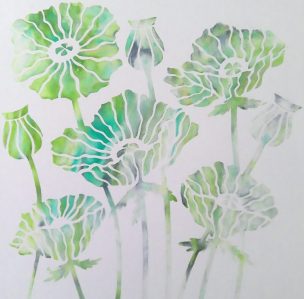

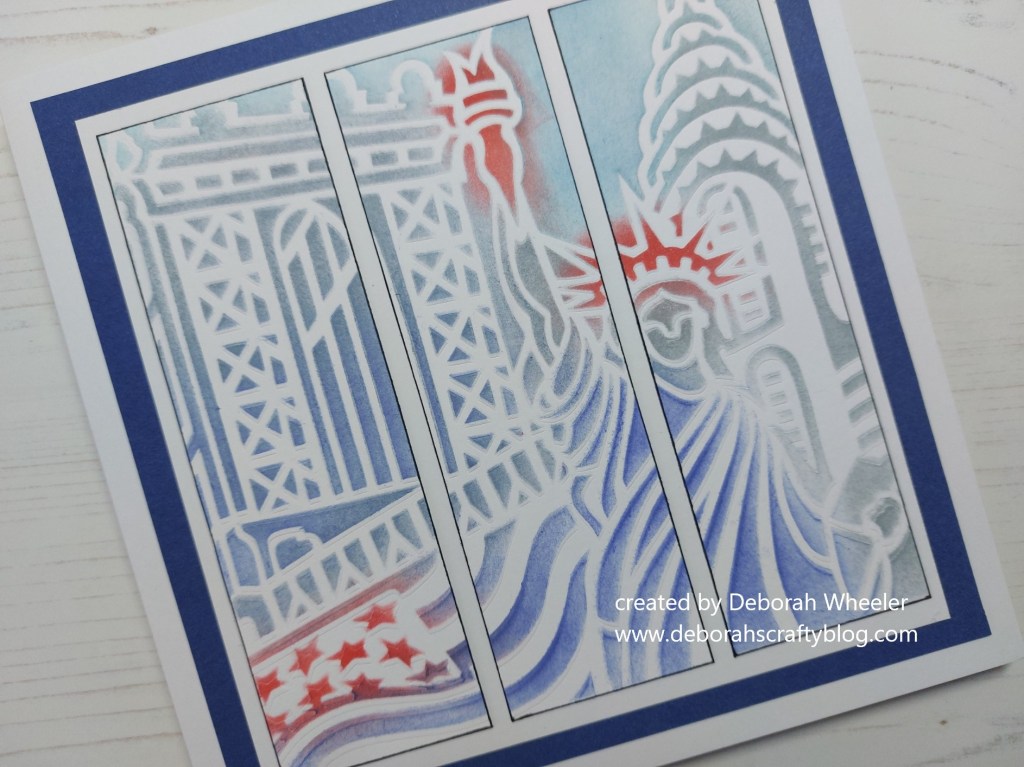
‘… so good they named it twice’ as they say in the song! I’ve realised that I hadn’t shared the last of my samples from the March TV shows, so here it is – better late than never! I used the ‘New York City’ 7×7 stencil for this one, so I’m also going to share this with the new challenges at Stencil Fun and Addicted to Stamps & More


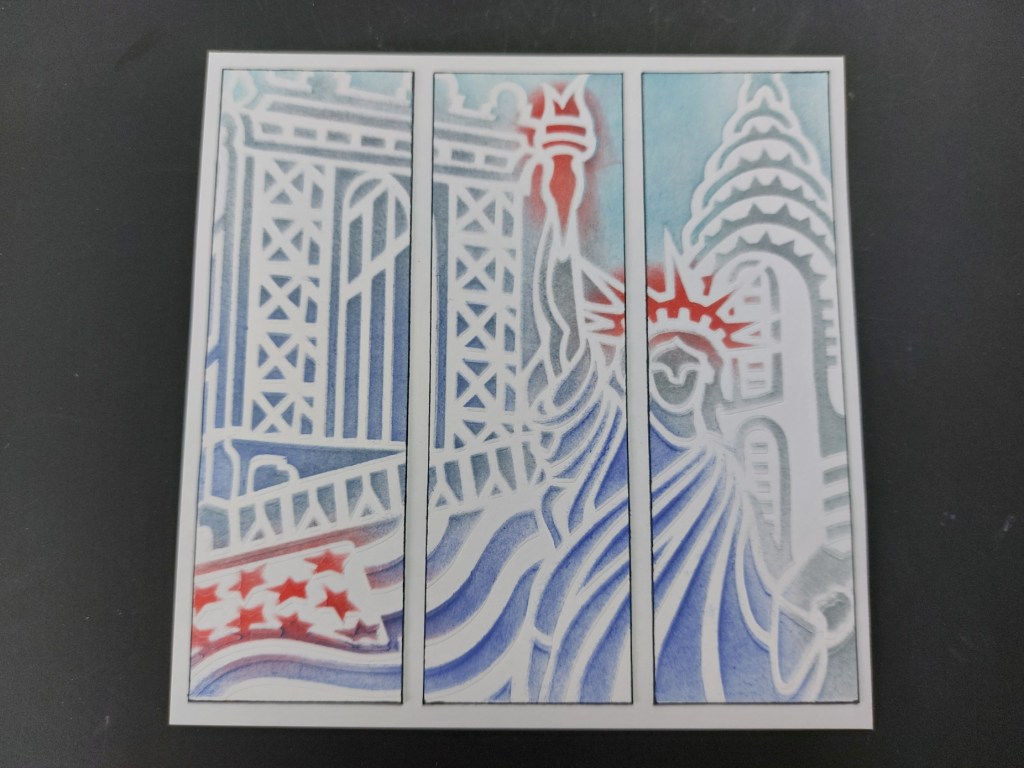
So here’s the lowdown on what I did! I first attached the stencil to a square of card using low tack tape and ran it through my embossing machine, to give the image dimension. I used a brush and sponges to add the colour through the stencil, using a combination of ‘blueprint sketch’, ‘festive berries’, ‘weathered wood’ Distress Oxides, with a little ‘broken china’ in the sky. After removing the stencil, I trimmed the card down around the image, cut it into three sections, ran a black Sharpie around all the edges and attached it to a square of white card.

I finished with a mount of co-ordinating companion paper and attached it to a 7×7 card blank.

You can get such great effects by just chopping up a stencilled image!
Discover more from Deborah's Crafty Blog
Subscribe to get the latest posts sent to your email.

LikeLiked by 1 person
Hi Jill – can you explain what you mean by cutting your stencil? Do you mean cutting it into the three sections? Deborah x
LikeLike
Hi Jill – I think I’ve figured out your question! When I cut the stencilled design into sections, I allow for the spaces between each strip by cutting it smaller from side to side than from top to bottom. Eg if it’s 10cm high, I’d cut the piece 9.5xm wide, so when I’ve cut it into 3 and spaced each strip it will be back to the 10cm. Hope that makes sense!
LikeLike
Pretty card! Love the vertical strips with the stenciling for the red, white and blue!
LikeLiked by 1 person
Thanks Vicki x
LikeLike
love it! Beautifully stenciled and very creative to cut it into 3 panels.
LikeLiked by 1 person
Thank you!
LikeLiked by 1 person
Colors and design fits the scene so well
LikeLiked by 1 person
Thank you!
LikeLiked by 1 person
Love the stencil and the red, white and blue!
LikeLiked by 1 person
thank you!
LikeLiked by 1 person
Beautiful, Deborah xoxo
LikeLiked by 1 person
Thank you!
LikeLike
Beautiful and very creative, what a fabulously fun stencil!! Thank you for joining in our fun at
Stencil Fun!!
Diane SF Co-Owner
LikeLiked by 1 person
Great idea! I like the subtle patriotic colors.
LikeLiked by 1 person
wow! Cutting up the panel made it different and I love it!
Thank you for joining us at Addicted to Stamps and More challenge.
Happy crafting!
Catherine x DT
LikeLiked by 1 person
Thanks Catherine!
LikeLike