
Welcome to my crafty blog. Today’s card will be heading off to a colleagues who’s just been appointed to a new job, and I’m delighted for him. As often happens, he’s been covering it on a temporary basis, but has now been permanently confirmed in the job. I took inspiration from the current challenge over at As You See It – it’s a recipe, which isn’t a type of challenge I’ve done before.

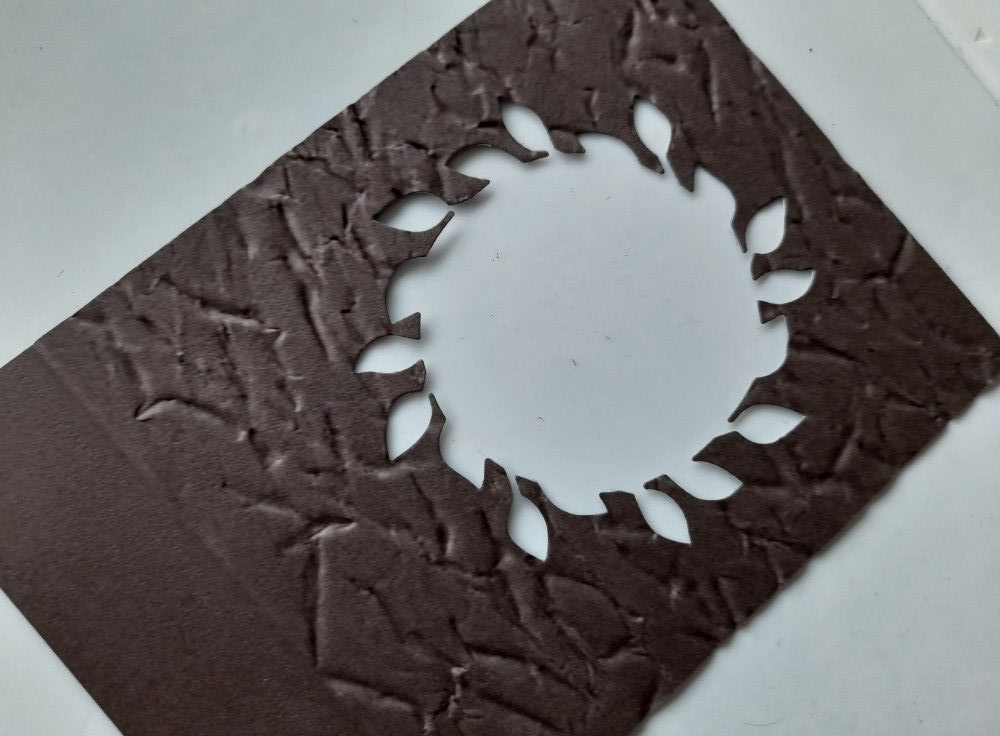
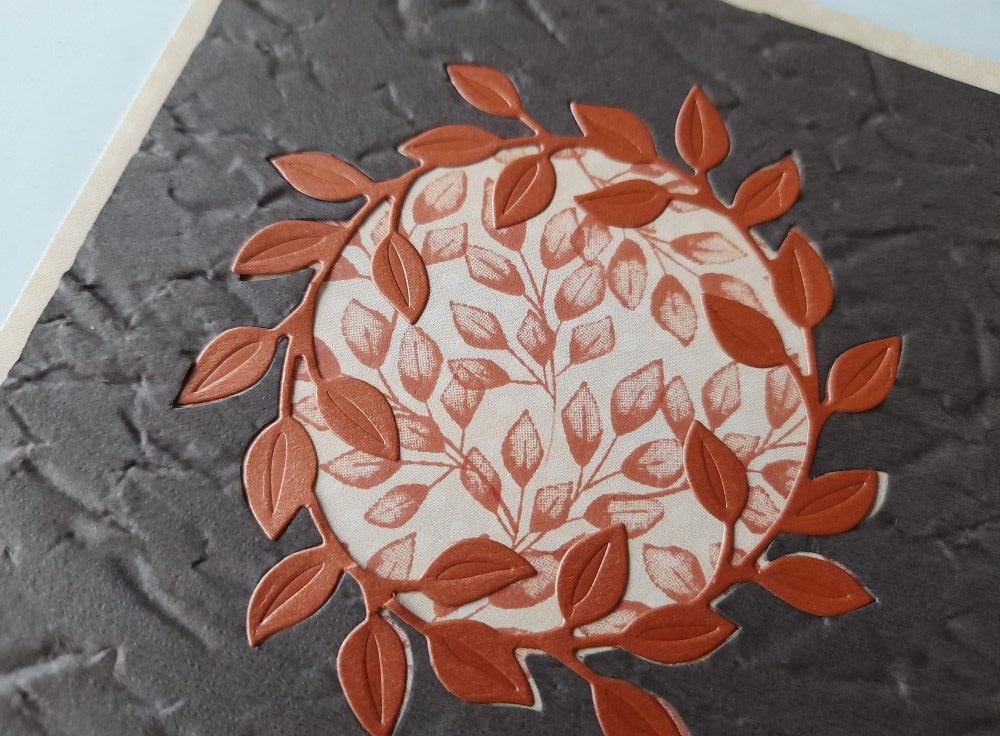
I started with a piece of brown card, cut slightly smaller than a 5×7 card blank, and embossed it using the Stampin’ Up! ‘old world paper’ folder. As it’s a square folder, it didn’t go right down to the bottom of the card, so I positioned it with the embossing ending three quarters down, as I was going to add a strip of paper across it there, and the plain card would sit below it. Once embossed I die cut the leafy circle from the SU ‘wreath builder’ die set.
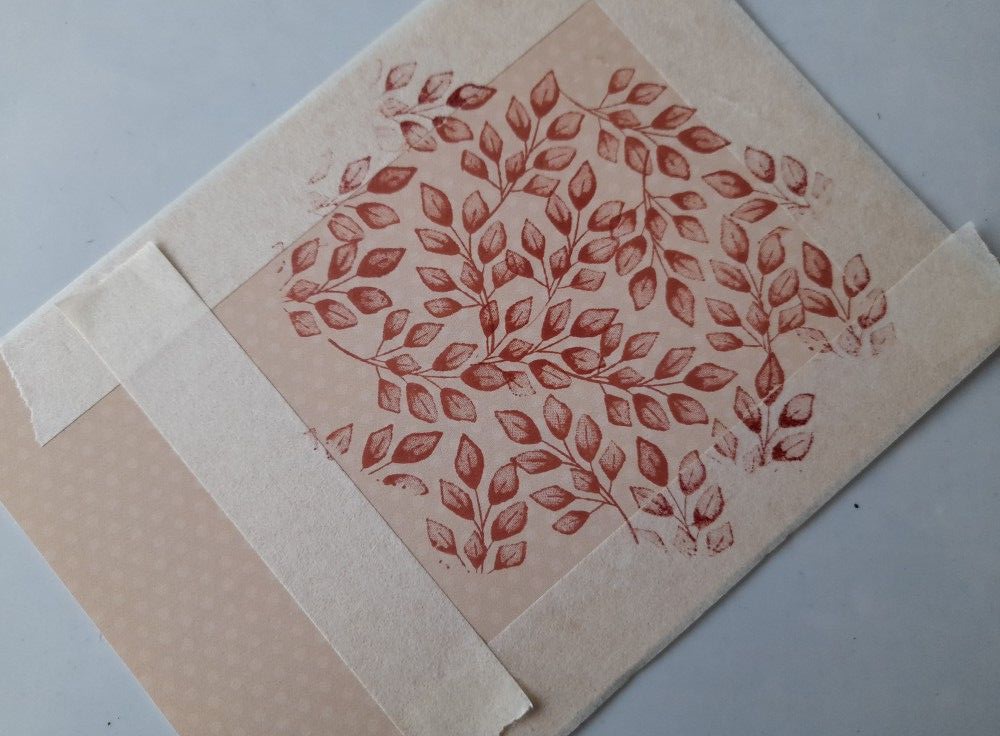
I then took my piece of backing paper, and stamped one of the small leafy sprigs from SU’s ‘forever ferns’ set over the middle, using ‘terracotta’ Artistry Ink. I masked the edge of the paper before starting, as the brown card was cut smaller than this piece and I didn’t want the leafy pattern to show around the edge.
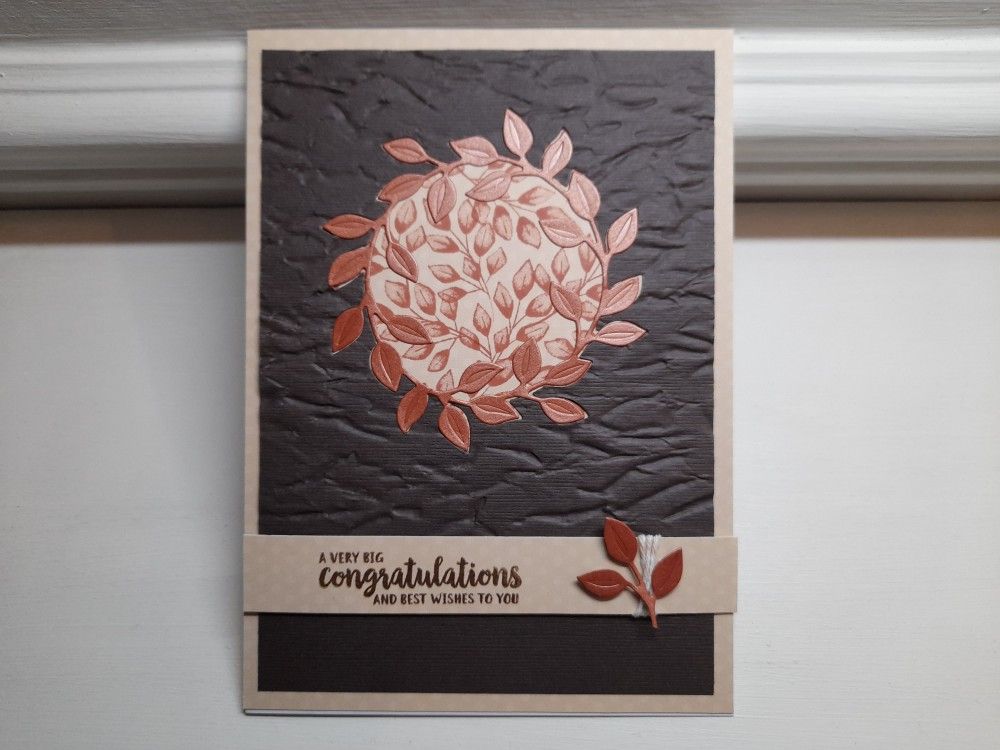
I then mounted the brown card onto the backing paper. I had planned at this point to reattach the inner part of the die cut, so the leaves were a negative image with the pattern showing through. I have to be honest – it did not look good! I tried adding the brown leafy wreath back in but there wasn’t enough contrast, so I cut another one in a terracotta card to pick up the colour of the ink.
Finally, I cut another strip of the backing paper, and stamped the sentiment onto it in dark brown (it’s from the SU ‘beautiful friendship’ set). The recipe included twine, so I wrapped a piece around the strip of paper before attaching it to the card front. I then snipped a few leaves from another circle (I just put the die against the corner of a piece of paper as I didn’t want the whole thing) and attached them to the card front with foam pads.

Thanks for dropping in. I think I hit the whole brief for this challenge – it’s a bit more tricky using several different elements but it worked out OK in the end.
Discover more from Deborah's Crafty Blog
Subscribe to get the latest posts sent to your email.

Lovely card
LikeLiked by 1 person
That’s a clever piece of wreath-building! Great choice of embossing folder too. Thanks for playing along with us at As You See It Challenge.
LikeLiked by 1 person
Love how you embedded the wreath and I like your choice of backing for the inside! The colours are so rich! Thanks for using our recipe at As You See It Challenges!
LikeLiked by 1 person
Gorgeous colour combo Deborah and the inset wreath and textured panel work well to highlight the stamping at the centre. Thanks for playing along with our recipe challenge over at As You See It this week!
LikeLiked by 1 person