
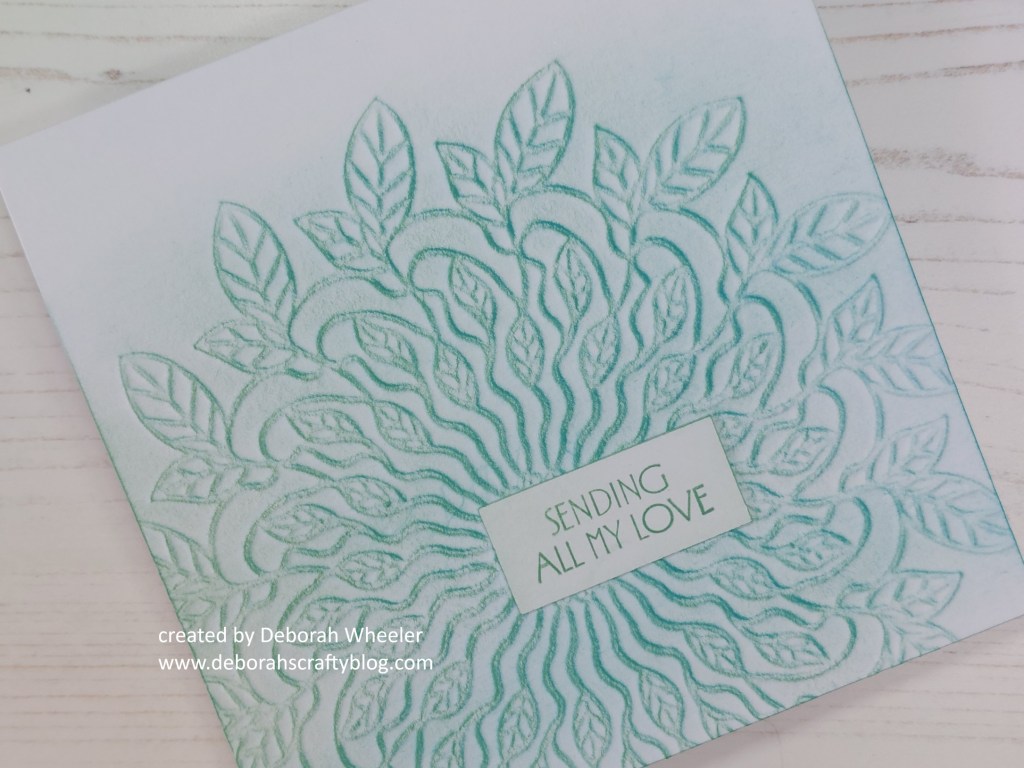
Hello everyone. I’ve got a simple card to share today, which was one of the demos I did on last Friday’s Clarity YouTube channel. The Leafy Doodle Round stencil is so pretty I wanted to make sure it was the star of the show on this card!
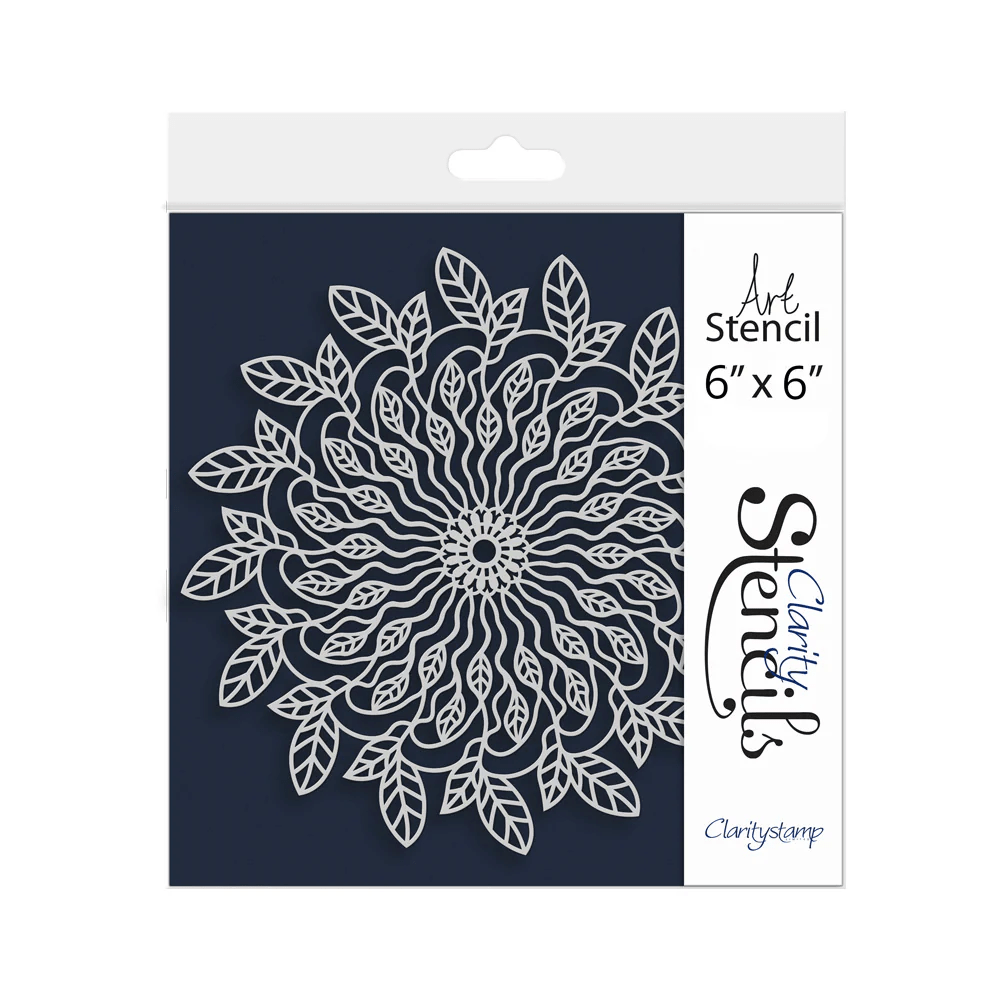
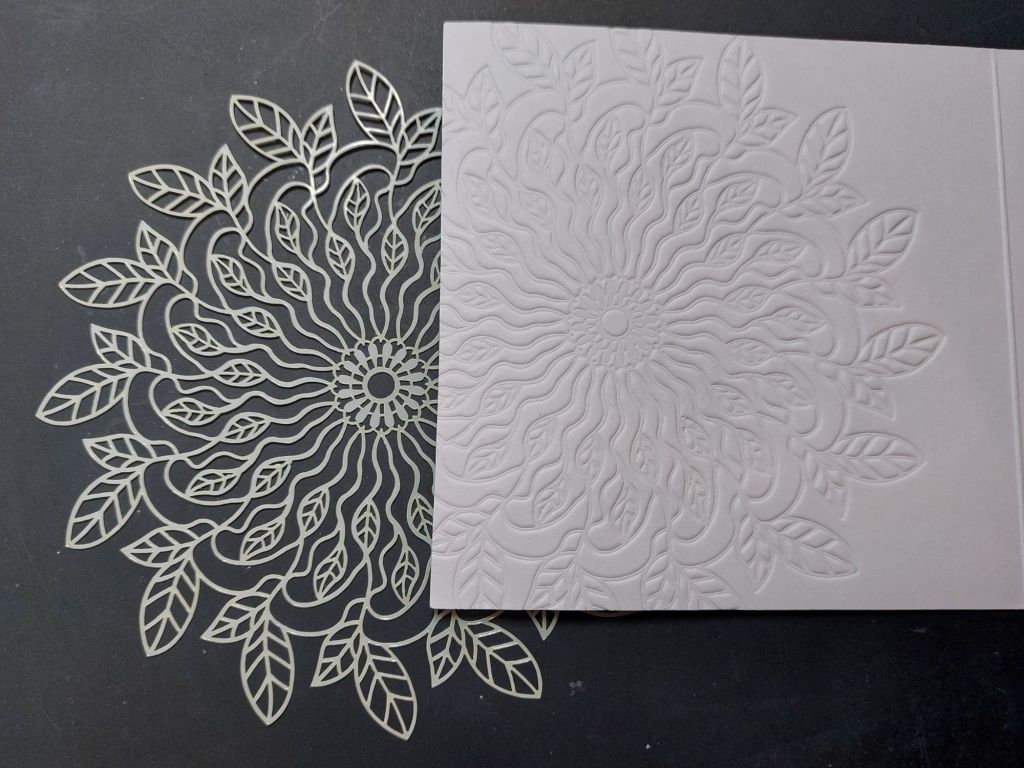
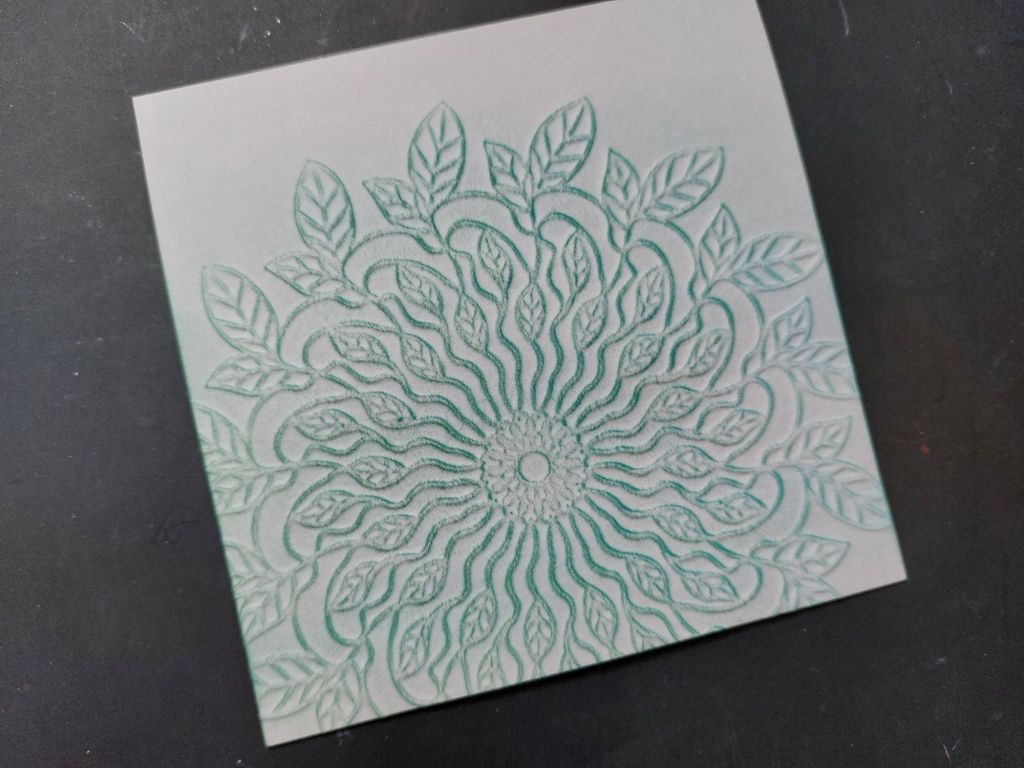
The key to this design is to emboss the stencil into the card using your die cutting machine and a rubber shim (details of exactly what plate combination to use for that should be in your machine’s instructions). I wanted the embossing to be raised on the front of the card blank I used, so placed the stencil on the inside of the front cover so it would embed onto it. If you’re not sure about doing this directly on the card blank, it’s very easy to do it onto a topper and then attach that afterwards (which is what I did on the show).
So, having lifted the stencil off, I turned the card back to the front and started to brush lightly with Distress Oxides. I first went with ‘peacock feathers’, sweeping in one direction from the right so the ink caught the edge of the embossed image. I then switched to ‘evergreen bough’, but this time sweeping it in from the left, which gave me a little more depth to the shading.
I left the top of the card without ink brushed on it, which left an ombre effect above the leaves. I then simply stamped one of the sentiments from the Floral Hearts set with ‘evergreen bough’ onto a scrap of card, brushed the ink in from the edges and simply glued it into place.
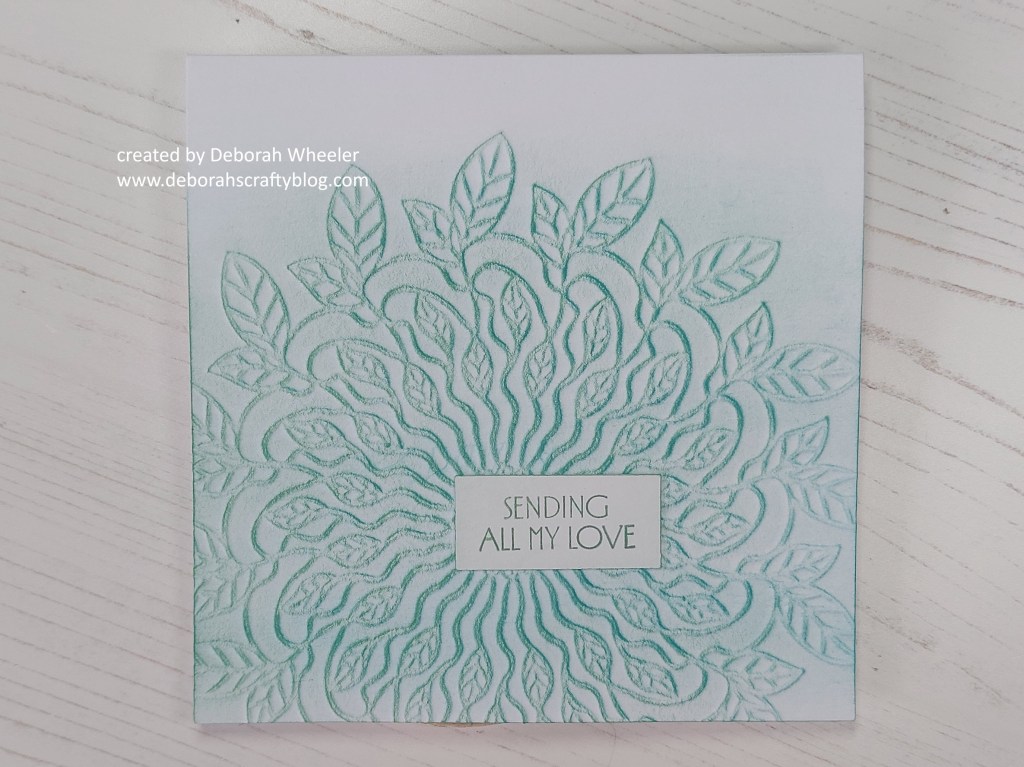
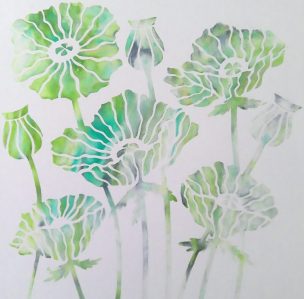
I love the way this technique highlights the embossed image – it would work with lots of stencils, but is especially good with these frameless ones. I’m sharing this in the gallery at Stencil Fun – I think it definitely works for their ‘vines’ option!

Discover more from Deborah's Crafty Blog
Subscribe to get the latest posts sent to your email.

A great stencil and how you have used it is wonderful. I like the colour a lot.
LikeLiked by 1 person
thanks Johanna – it’s a very simple technique!
LikeLiked by 1 person