
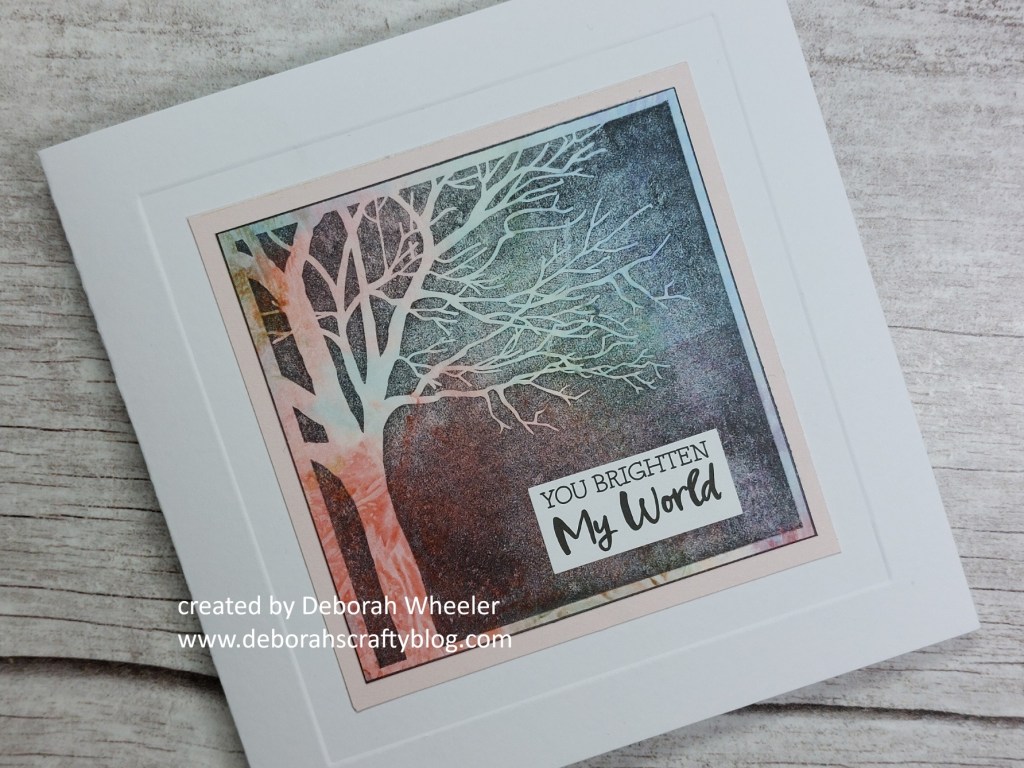
Hello everyone – I hope those of you in the UK are staying safe and warm in the middle of all the snow and ice (although it’s been a few degrees less cold here on the edge of London today). I’ve got a few more cards to share with you using the new Square Tree Aperture stamps that were laun.ched on Sunday – this one features the ‘all we need is now’ set and a piece of Toscana designer card.

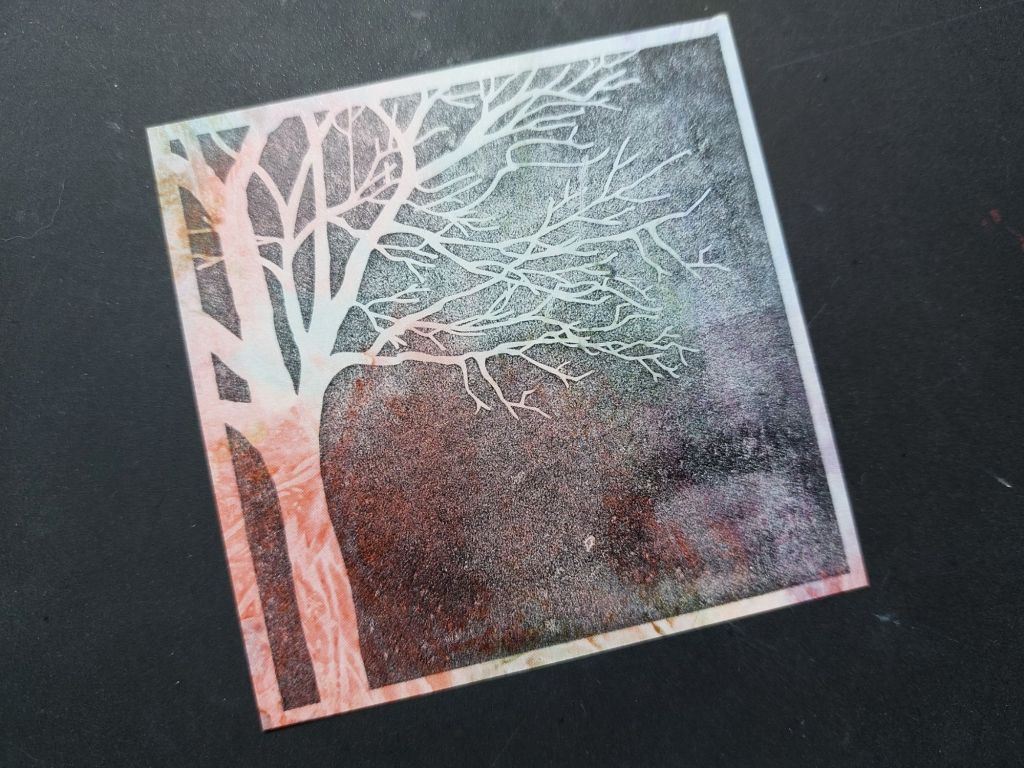
As you’ll have noticed from Sunday’s card, these stamps create the background, leaving the tree clear (hence the ‘aperture’ name). I wanted colour in my tree, however, so got round that by stamping onto a piece of the designer card. I inked up the larger of the two stamps with black Archival ink and planted it onto a piece of the card, which I then trimmed around the edges with my guillotine to give me an even border. Now, my stamping wasn’t the best – I was happy that I could still see some of the pattern through the ink, giving a hint of a landscape in the background, but less enamoured of the patch in the bottom right hand corner. Read on for my solution…
Before we get there, though, I used a square embedder and a ball tool to emboss a frame onto the front of a 5×5 card blank. I thought it might be helpful to recap this process, which is incredibly straightforward. I attached the embedder to the front of the card blank using folded over low tack tape to hold it in place. I then flipped to the inside of the card front, gave it a rub with a tumble dryer anti-static sheet (makes the tools glide more easily) and used the end of a Perga tool to butt against the embedder, running round it to create the initial crease (a bone folder works for this too). I then went around the embedder again with a #2 Groovi ball tool to sharpen the crease – that’s all there is to it!


Back to my topper, I edged it with a black Sharpie and mounted it onto a piece of pale pink Amazonia companion paper. Having attached it to the card front, I added one of the Pinky Gray word stickers, covering up the dodgy area of my stamping!

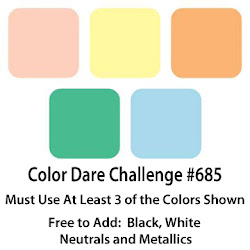
I love the shaded colours on the tree from using the designer card. I picked up the pink, green and blue tones from the palette at Color Dare and the ‘anything goes’ theme from Love Those Pretty Papers.

Discover more from Deborah's Crafty Blog
Subscribe to get the latest posts sent to your email.

It’s beautiful, Deb! xoxo
LikeLiked by 1 person
Thanks Em x
LikeLike
So pretty!! Thanks for sharing at Color Dare!
LikeLiked by 1 person
Beautifully done … very unique! Thanks so much for joining in the fun at our Love Those Pretty Papers challenge! Good Luck and we hope you’ll come back often.
Darlene
Love Those Pretty Papers Co-Owner
LikeLiked by 1 person
So pretty! Those colors really pop with the silhouette image!
LikeLiked by 1 person
thanks so much!
LikeLiked by 1 person
[…] the topper using a rectangle embedder and a ball tool. I included a recap on using the embedders in yesterday’s post, but there was an additional step on this one, as the rectangle embedder wasn’t quite long […]
LikeLike
Love this. It is so pretty.
LikeLiked by 1 person
Thanks Johanna
LikeLiked by 1 person
That a different way to combine the suggested colors. Nicely done. Thanks for sharing with the Color Dare
LikeLiked by 1 person
How unique is this image. The background is very intriguing and I like the soft color on the tree. Thank you for joining us at Color Dare.
LikeLiked by 1 person
This is so cool – really dramatic
LikeLiked by 1 person
bit of a lucky punt!!
LikeLike
Wow! What a fun use of the colors. I love how you let the stamp take center stage. Thanks for playing at Color Dare.
LikeLiked by 1 person
Wow! What a fun use of the colors. I love how you let the stamp take center stage. Thanks for playing at Color Dare.
LikeLiked by 1 person
Very atmospheric – sorry for the lack of commenting (internet loss) but I’m back now……. 🙂
LikeLiked by 1 person
Thanks Lynda. No need to apologise x
LikeLiked by 1 person
Very pretty! Love all the layers and how it looks like a professionally matted photo. Thank you for sharing at Color Dare.
LikeLiked by 1 person