
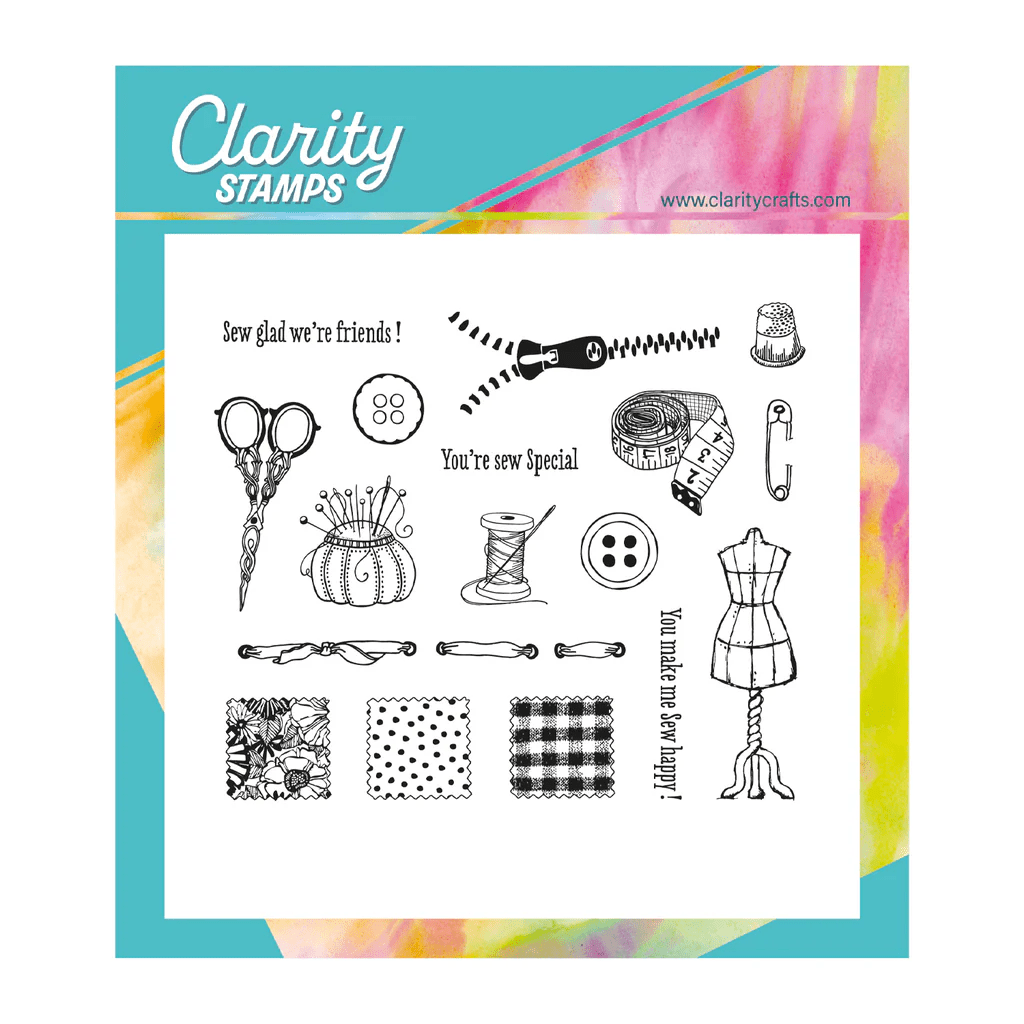
Hello there! I’ve got a couple of notecards for you today using Clarity Crafts ‘haberdashery‘ stamps from their mini hobbies collection – these little fabric samples stamps are just so sweet and perfect for smaller cards! I ran out of time on today’s 10am Clarity Social TV show to demo these properly (you can catch up with it here), so here’s the more leisurely step by step process I promised everyone…
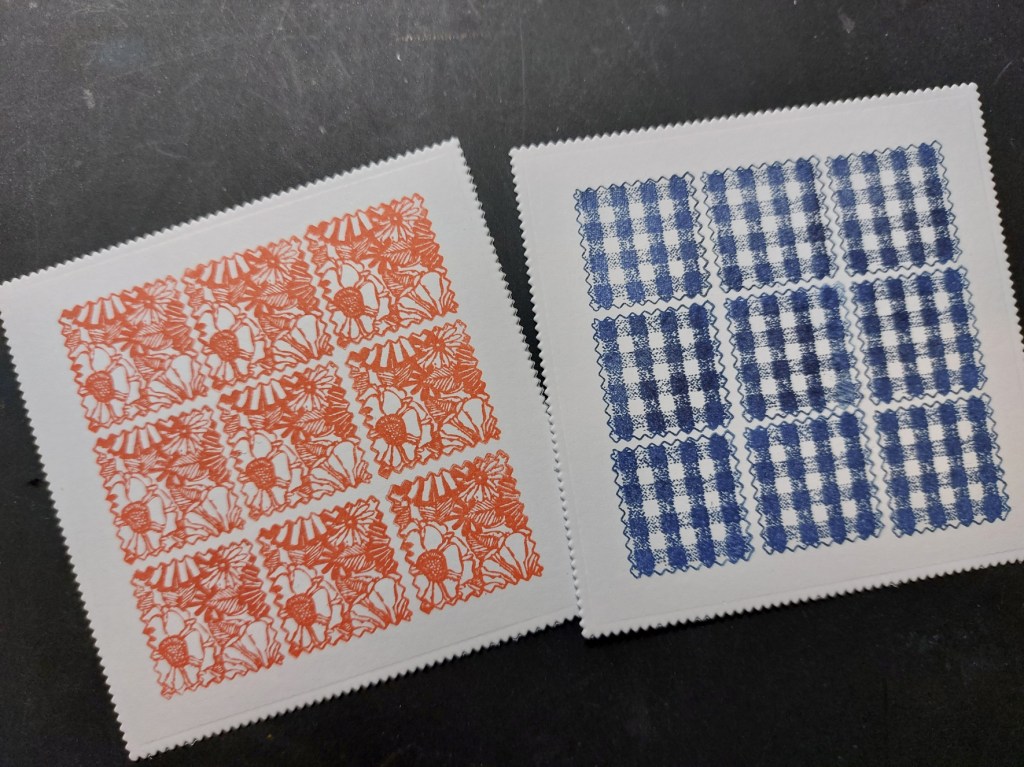
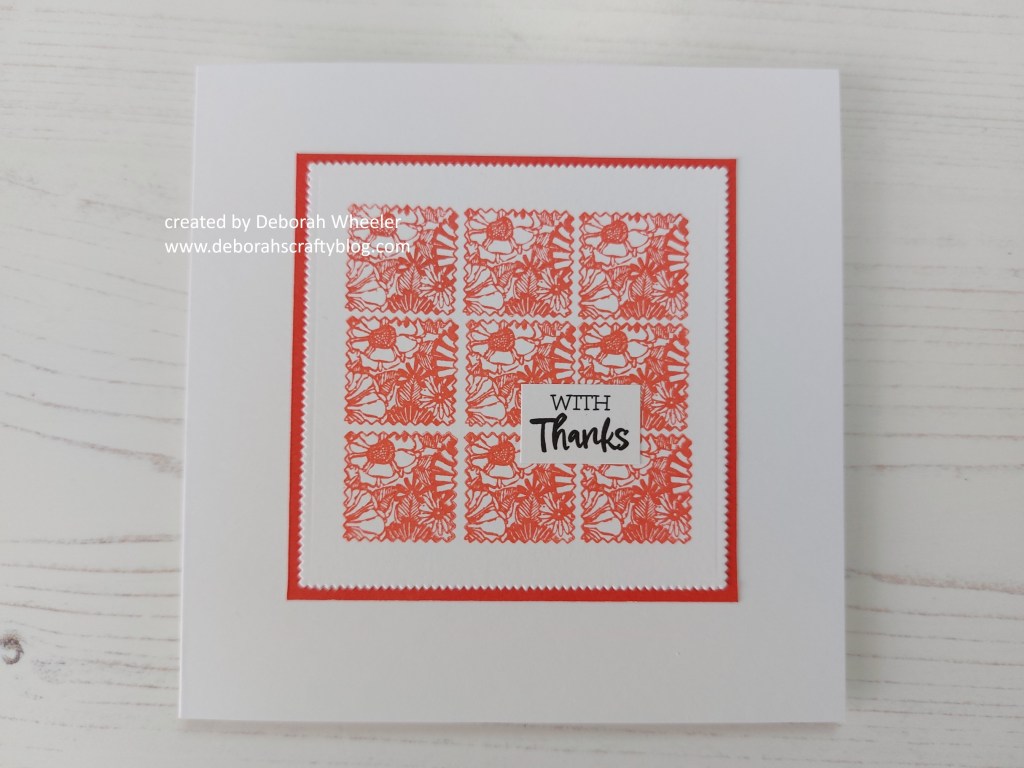
I wanted to create a 3×3 pattern with the little square stamps but often struggle to line them up accurately on a piece of card, so here’s how I got round that. I started with a small square of Clarity’s stencil card and stamped the gingham image roughly in line with the top left hand corner, using ‘cobalt’ Archival ink and leaving myself a border. I stamped it again to the right, using the edge of the actual stamp (not the image) to line it up against the first one, which left me a little gap. Then simply repeated that for the third one across the top before moving down to the second row – this time lining up the top of the stamp with the previous row of images. That carried on until I’d got a little nine block square stamped out. I did a second version with ‘poppy’ Archival ink using the floral fabric square, then cut both pieces with a nested picot square die – that let me get the images centred in the die cut, so it didn’t matter if I’d wandered down the card at a slight angle!
I must admit, I carried on playing with these, trying out different combinations – this one used both these stamps with ‘bluebird’ and ‘prickly pear’ Archivals.

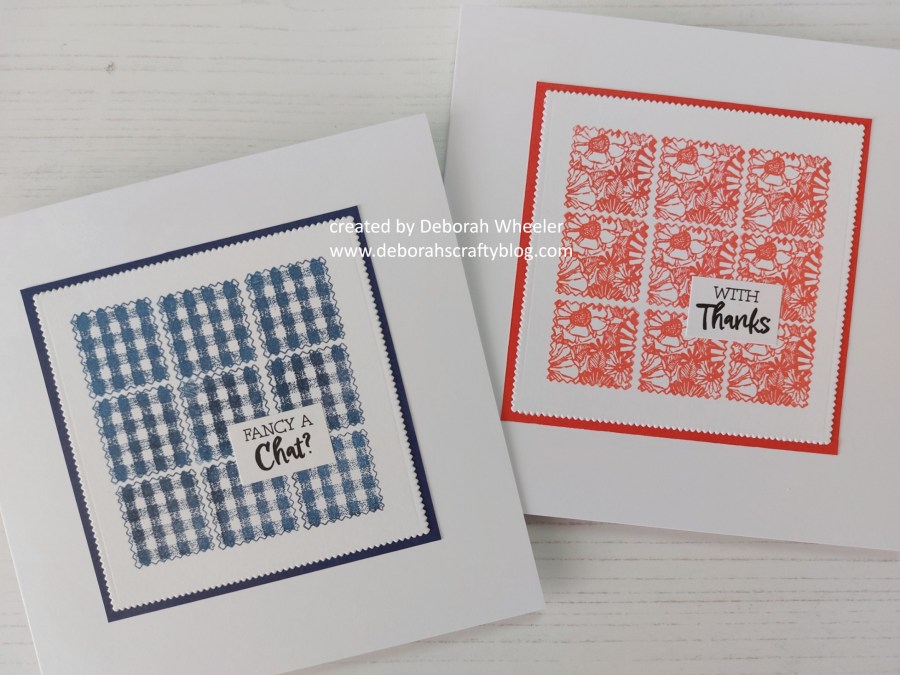
I then simply added a coordinating mount of companion paper and popped the toppers onto 5×5 card blanks, finishing with Pinky Gray greeting stickers.

These would make fantastic little sets of notelets to give as gifts or sell (Clarity is an angel company, so you can sell what you make with their products)
One other tip I forgot to mention – I always clean my stamps with a little isopropyl alcohol on a soft cloth when I’ve been using coloured Archival (permanent) inks. When you switch from one colour to another, it can reactivate the previous one that’s dried on your stamp and you’ll get a strange combination of the two! Ask me how I know…!!
Discover more from Deborah's Crafty Blog
Subscribe to get the latest posts sent to your email.

OMGoodness, these are so cute!
LikeLiked by 1 person
thanks – they’re great little stamps!
LikeLiked by 1 person
How adorable are these notecards! I love the edging on them and they do really look like fabric! What a darling set!
LikeLiked by 1 person
thanks so much x
LikeLike
oh – so many choices and combinations – lovely set x
LikeLiked by 1 person
Thanks – I had such fun playing with them!
LikeLike
looks like real fabric and I like the colour choices too.
LikeLiked by 1 person
Thank you!
LikeLiked by 1 person